Clear narration can make a simple video feel professional, while a noisy, echoing recording can make even beautiful footage hard to watch. The good news is that you do not need a professional studio to sound good. With a quiet corner, a decent microphone and the right habits, you can learn how to record voice over at home for YouTube videos, explainers, reels, e-learning and client work.
What you need to get started
A microphone
Your choice depends on budget and use:
- Smartphone: modern phones can record usable voice, especially with a good recording app and a quiet room. A good place to start practising.
- Lavalier (clip-on) microphone: affordable, plugs into a phone or camera and keeps the mic close to your mouth.
- USB microphone: connects directly to a laptop and is simple to set up. A popular choice for beginners.
- XLR microphone with an audio interface: offers more control and better upgrade options, but costs more and needs extra equipment.
For voice work, many people prefer a cardioid microphone, which picks up sound mainly from the front and less from the sides and back.
Headphones
Closed-back headphones let you hear your recording clearly without the sound leaking back into the mic.
A pop filter
A pop filter or foam windscreen reduces the harsh bursts of air from sounds like “p” and “b”.
Recording software
Audacity is a widely used open-source audio editor. Many video editors, such as DaVinci Resolve, also let you record and clean up voice directly. On phones, a voice recorder app that saves in good quality is enough to start.
Step 1: Choose and treat your space
The room matters more than most beginners expect. Hard walls, tiled floors and empty rooms create echo.
- Pick the quietest room, away from roads, kitchens and shared walls.
- Use soft surfaces: curtains, carpets, sofas, mattresses, cushions and filled cupboards absorb sound.
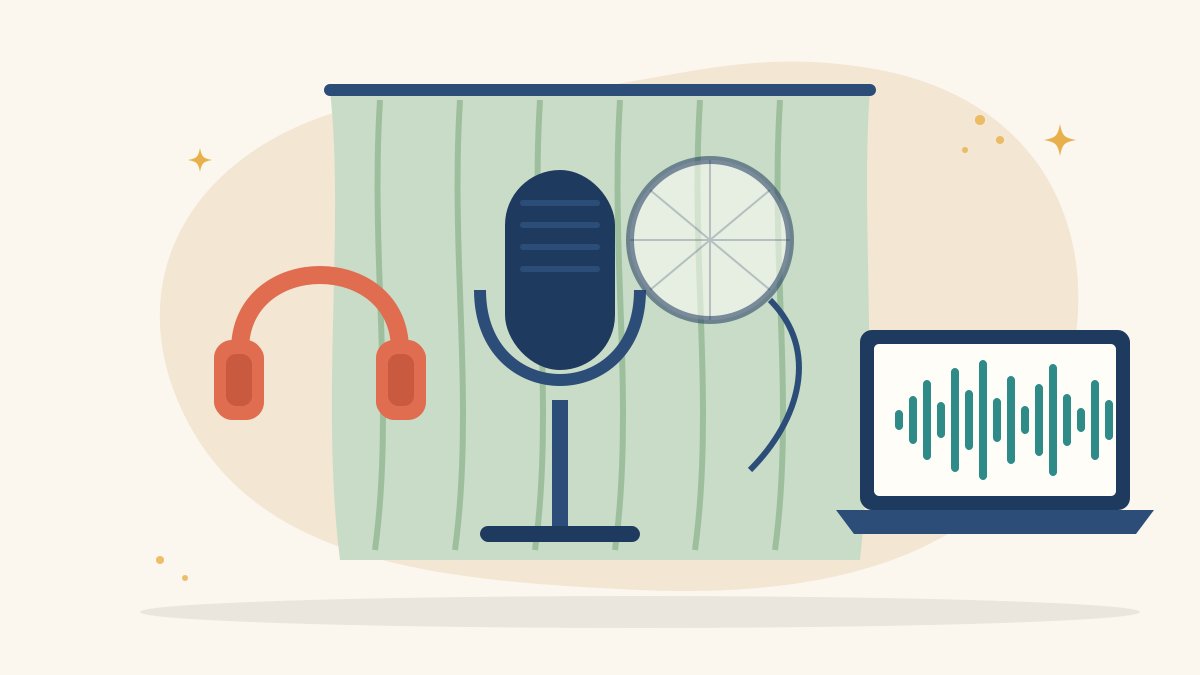
- Try a wardrobe: recording in front of hanging clothes is a well-known trick for reducing echo.
- Build a simple booth: hang a thick blanket behind and around your recording position.
- Avoid corners and bare walls directly behind the microphone.
Step 2: Control background noise
- Switch off fans, coolers and air conditioners while recording, if you safely can.
- Put your phone on silent and close noisy apps on your laptop.
- Record at quieter times of day, such as early morning or late night.
- Tell family members when you are recording.
- Record a few seconds of silence at the start; it helps you spot noise and can be used for noise reduction later.
Step 3: Set up the microphone correctly
- Distance: keep your mouth about a hand’s width (roughly 10 to 15 cm) from the mic, and stay consistent.
- Angle: speaking slightly across the mic, rather than straight into it, reduces popping sounds.
- Stability: use a stand or a stack of books so the mic does not move or pick up desk bumps.
- Gain: set the input level so your normal speaking voice peaks around -12 dB to -6 dB. Avoid hitting 0 dB, which causes distortion (clipping).
Step 4: Prepare your script and voice
- Print or display the script in a large font, and mark pauses and words you want to stress.
- Read it aloud once before recording to find difficult phrases.
- Drink room-temperature water and avoid very cold drinks just before recording.
- Warm up with simple humming, lip trills and tongue twisters.
- Sit or stand upright; good posture helps your breathing and tone.
Step 5: Record
- Record in a lossless format such as WAV where possible.
- Speak at a natural, steady pace. Slightly slower than normal conversation usually sounds clearer.
- Smile slightly when the script is friendly; it changes how warm your voice sounds.
- If you make a mistake, pause, then repeat the whole sentence. Clean pauses make editing much easier.
- Record a few extra takes of important lines.
Step 6: Edit and clean up
A light touch works best. Over-processing can make a voice sound robotic.
- Cut mistakes and long pauses, keeping natural breathing spaces.
- Reduce background noise using a noise reduction tool and a sample of room silence.
- Apply EQ: a gentle low-cut filter removes rumble below the voice; small adjustments can add clarity.
- Use a compressor to even out loud and soft words.
- Normalise the level so the final file is consistent. For online video, aim for clear dialogue that sits comfortably above any background music.
- Listen on different devices: headphones, laptop speakers and a phone.
Common mistakes to avoid
- Recording too far from the mic, which captures more room echo.
- Setting the gain too high, leading to distortion that cannot be fixed later.
- Moving around while speaking, which makes the volume uneven.
- Heavy noise reduction that creates a watery, metallic sound.
- Ignoring breaths and mouth clicks in close-up recordings.
- Reading too fast because you are nervous.
Practice routine for beginners
- Record one short paragraph every day for two weeks.
- Compare your first and latest recordings.
- Practise different styles: a calm explainer, an energetic ad and a warm story.
- Ask someone you trust for honest feedback on clarity and pace.
Learn audio and video skills with structure
At Karuna Media, run by Puppets Picture Education Trust (PPET) in Noida, the 12-month Karuna Media Master Program trains women from underprivileged homes in media, filmmaking and AI skills, including audio recording, video production and editing, with support for job placement. Read more about the program or visit the application page.
If you want to help more women gain professional media skills, you can support our work with a donation.
Your next step
Choose the quietest corner of your home, hang a blanket behind you and record a one-minute script on whatever device you have. Listen back with headphones and note one thing to improve. Repeat tomorrow. Learning how to record voice over at home is mostly about small, steady improvements.
The Giving Movement by Karuna Media · #TheGivingMovement
Wear the cause: tees, a tote and a mug that fund media training for women
Tee (Black) ₹699 · Tee (White) ₹649 · Tote ₹449 · Mug ₹399. Printed on demand and shipped across India. 100% of the profit funds media training for underprivileged women.
Buy now on Razorpay Prefer to donate? Go to our donate pageMerch is a purchase, not a donation, and is not eligible for 80G. To make a donation, use our donate page.