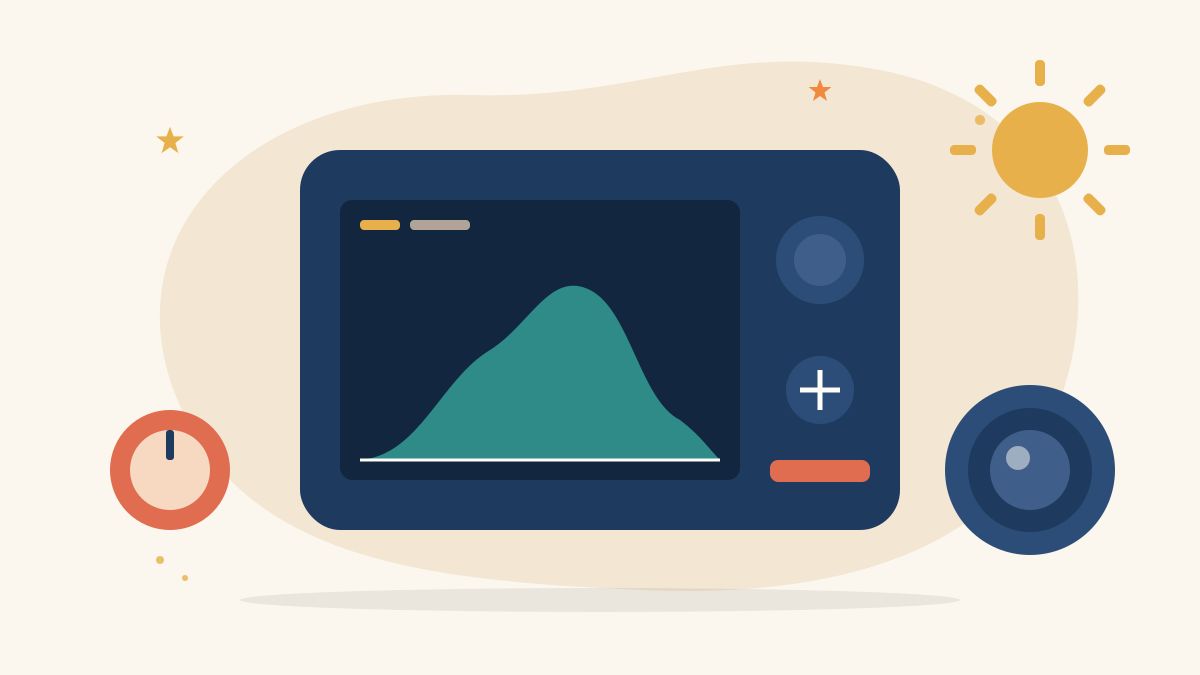
Your camera or phone screen can lie. In bright sunlight a well-exposed image looks dark, and in a dim room a slightly overexposed shot looks perfect. The histogram does not lie in the same way. It is a small graph that shows how the tones in your image are spread from black to white, and once you can read it, you can judge exposure in a second, whether you are shooting photos or video.
This guide explains what a histogram shows, how to read common shapes, clipping and RGB histograms, related video tools such as zebras and waveforms, how to fix problems and a simple practice routine.
What is a histogram?
A histogram is a graph of brightness. The horizontal axis runs from pure black on the left, through shadows and midtones, to pure white on the right. The height of the graph at any point shows how many pixels in the image have that brightness. Nikon’s guide describes it as an analysis of the photo you have just taken, while a light meter reads the scene before you shoot.
If you are new to exposure settings, start with our guide on how to shoot in manual mode, which introduces aperture, shutter speed and ISO.
How to turn on the histogram
- Cameras: most mirrorless and DSLR cameras can show a live histogram while shooting and another during playback. Look in the display or info settings and check your camera’s manual.
- Phones: many built-in camera apps do not show one, but some offer a pro or manual mode with a histogram. Third-party camera apps often include it.
- Editing software: photo editors such as Lightroom show a histogram at the top of the editing panel, and video editors include scopes.
Reading the shape
There is no single correct shape. As Adobe’s histogram guide notes, the right histogram depends on the subject and the light. Read it together with the scene in front of you.
Bunched to the left
Most tones are dark. This is right for a night scene or a deliberately moody portrait, but if your subject should look normal, the image is probably underexposed.
Bunched to the right
Most tones are bright. This suits a white product on a white background or a snowy scene, but for a normal subject it suggests overexposure.
A narrow hump in the middle
Tones are packed into a small range, which usually means low contrast, as on a foggy day or under flat light. You may add contrast with lighting or in the edit.
Spread across the whole width
A wide spread means a high-contrast scene with deep shadows and bright highlights. Check both edges carefully, because clipping is likely.
Clipping: the edges matter most
Clipping happens when the graph touches or piles up against an edge. A spike against the right edge means highlights have become pure white with no detail. A spike against the left edge means shadows have become pure black. Highlight clipping is usually harder to fix, because there is no detail left to recover, especially in compressed video and JPEG files.
Small amounts of clipping can be acceptable, such as a bright lamp or the sun in the frame. Clipping on a face, a white shirt or a sky you care about is not.
RGB histograms
Many cameras can also show separate red, green and blue histograms, as Nikon’s guide describes. This matters because one colour channel can clip even when the overall brightness histogram looks fine. This often happens with saturated red flowers, stage lights or a bright orange saree, where the red channel loses detail first.
Histograms and video: zebras and waveforms
For video, the same principles apply, but you may get extra tools:
- Zebras draw stripes over parts of the image above a brightness level you set. Many shooters set them near the top of the range to warn of clipping, or at a lower level to help place skin tones.
- Waveform monitors show brightness from left to right across the frame, so you can see exactly which part of the image is too bright.
- Scopes in editing software let you check and correct exposure in post-production.
Exposure and colour work together, so also read our guides on setting white balance for video and shooting video in low light.
How to fix what the histogram shows
- Too far left (underexposed): open the aperture, use a slower shutter speed (within the limits of motion blur and your frame rate for video), raise the ISO or add light.
- Too far right (overexposed): close the aperture, use a faster shutter speed, lower the ISO, add an ND filter or reduce the light.
- Clipping on one side only: move the subject, change the angle, add fill light to shadows or reframe to exclude the very bright area.
- Clipping on both sides: the scene’s contrast is too high for one exposure. Choose what matters most, usually the face, and expose for it, or reduce contrast with light and reflectors.
- Low contrast: add directional light or plan to increase contrast in the edit.
Remember that the in-camera histogram is usually based on a processed preview. If you shoot RAW photos, you may have slightly more highlight and shadow detail than the camera shows.
Illustrative example: an outdoor interview at noon
This example is illustrative. Kavya is filming a short interview outside a community centre at midday.
- First test shot: the histogram has a spike on the right edge. Zebras show stripes on the speaker’s white kurta and the sky.
- Fix one: she moves the speaker into open shade beside the building. The spike shrinks, but the sky behind still clips.
- Fix two: she changes the angle so a wall, not the sky, is behind the speaker.
- Fix three: she adds an ND filter so she can keep a shallow depth of field without overexposing.
- Result: the histogram now sits mostly in the middle with no clipping on the face or clothes, and skin tones look natural on playback.
Practice routine and checklist
Try this ten-minute exercise. Photograph the same scene five times, changing exposure by one stop each time, and compare the histograms with the images on a computer screen.
- Is anything important touching the right edge?
- Is the shadow detail I need still above the left edge?
- Does the shape match the scene, dark for dark scenes and bright for bright ones?
- Have I checked the RGB histogram for saturated colours?
- For video, are zebras on and set to a level I understand?
Keep building camera skills
Reading a histogram quickly becomes a habit that saves many shoots. If you would like structured training in camera, lighting and editing skills, explore our programmes and apply here.
The Giving Movement by Karuna Media · #TheGivingMovement
Wear the cause: tees, a tote and a mug that fund media training for women
Tee (Black) ₹699 · Tee (White) ₹649 · Tote ₹449 · Mug ₹399. Printed on demand and shipped across India. 100% of the profit funds media training for underprivileged women.
Buy now on Razorpay Prefer to donate? Go to our donate pageMerch is a purchase, not a donation, and is not eligible for 80G. To make a donation, use our donate page.