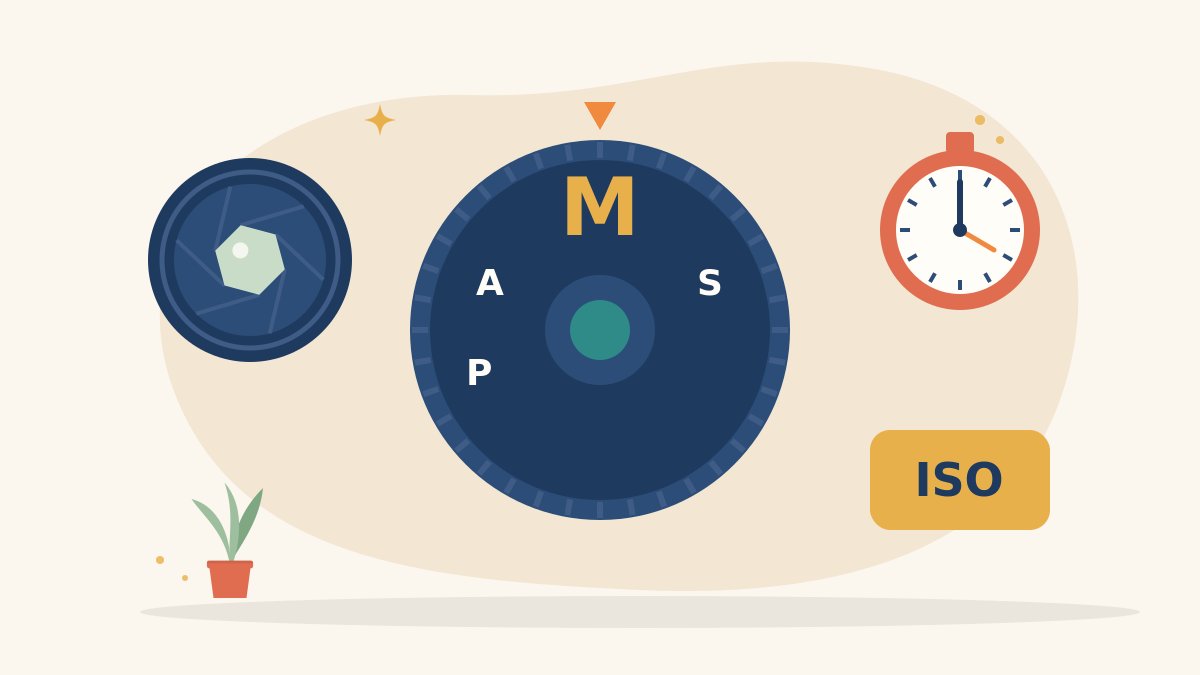
Automatic mode is convenient, but it makes guesses. It decides how bright the photo should be, what should be sharp and whether motion should blur, and it often guesses wrong in tricky light. Learning how to shoot in manual mode puts those decisions in your hands, so the camera captures what you actually see and intend.
This guide walks you through manual mode step by step: the three settings that control exposure, how to read your camera’s light meter, a simple routine to follow and the most common mistakes beginners make.
What is manual mode?
Manual mode, usually marked M on the mode dial, lets you set aperture, shutter speed and ISO yourself. In automatic modes the camera chooses some or all of these. Manual mode works on most DSLR and mirrorless cameras, and many smartphones offer a Pro or Manual mode with similar controls.
The exposure triangle
Exposure is how much light reaches the sensor. Three settings work together to control it, and each one also changes how the image looks.
Aperture (f-number)
Aperture is the size of the opening in the lens. It is written as an f-number such as f/1.8, f/4 or f/11.
- A small f-number (wide opening) lets in more light and creates a shallow depth of field, with a sharp subject and a soft, blurred background. Useful for portraits.
- A large f-number (narrow opening) lets in less light and keeps more of the scene sharp from front to back. Useful for landscapes and group photos.
Shutter speed
Shutter speed is how long the sensor is exposed to light, written in seconds or fractions such as 1/1000, 1/125 or 1/30.
- Fast speeds keep moving subjects sharp, such as a child running or a dancer mid-turn.
- Slow speeds let in more light and create motion blur, which can look creative but also causes shaky photos if you hand-hold the camera.
A common starting rule for hand-held shots is to keep shutter speed at least as fast as 1 divided by your focal length; for example, around 1/50 or faster with a 50mm lens. Image stabilisation can let you go slower.
ISO
ISO controls how sensitive the sensor is to light.
- Low ISO (100 to 400) gives the cleanest images and suits bright conditions.
- High ISO helps in low light but adds grain, also called noise.
Keep ISO as low as the situation allows, and raise it only when aperture and shutter speed cannot give you enough light.
How the three settings balance
Think of each setting as a tap that lets light in. If you open one tap, you can close another and keep the same brightness. For example, if you open the aperture by one stop, you can use a shutter speed twice as fast and get a similar exposure. Choosing which tap to turn depends on what matters most in the photo: background blur, frozen motion or low noise.
How to read the light meter
In manual mode your camera still measures light. Look for a scale in the viewfinder or on the screen, usually running from -2 to +2 or -3 to +3 with a marker.
- Marker at 0: the camera thinks the exposure is balanced.
- Marker to the minus side: the image will be darker.
- Marker to the plus side: the image will be brighter.
The meter is a guide, not a rule. A bright white wall or a dark stage can fool it, so always check the result on your screen and the histogram.
Step-by-step: how to shoot in manual mode
- Set the dial to M.
- Set ISO to its lowest practical value, such as 100 in daylight or 400 indoors.
- Choose your priority. Decide whether depth of field or motion matters most for this shot.
- Set that setting first. For a portrait, choose a wide aperture such as f/2.8. For sports, choose a fast shutter speed such as 1/1000.
- Adjust the other setting until the light meter is close to 0.
- Take a test shot and review the image and histogram.
- Fine-tune. If the image is still too dark and you cannot change aperture or shutter speed further, raise ISO step by step.
Settings to try in common situations
These are starting points only; adjust them to your light.
- Portrait outdoors in shade: f/2.8, 1/250, ISO 100 to 200.
- Landscape in daylight: f/8 to f/11, 1/125, ISO 100, with a tripod if possible.
- Indoor event: f/2.8, 1/125, ISO 800 to 1600.
- Moving subjects: 1/1000 or faster, aperture as wide as needed, ISO adjusted for light.
- Night city scene on a tripod: f/8, a few seconds, ISO 100.
Understanding the histogram
The histogram is a graph showing the spread of dark to bright tones in your photo. Tones bunched at the left edge mean lost shadow detail; tones pressed against the right edge mean blown-out highlights. A good exposure usually keeps important tones away from both edges.
Common mistakes to avoid
- Leaving ISO high after shooting indoors, which adds grain to daylight photos.
- Using a slow shutter speed without a tripod, leading to blurry images.
- Trusting the screen brightness alone, which can look different from the actual file.
- Changing all three settings at once, which makes it hard to learn what each one does.
- Forgetting white balance, which affects colour even when exposure is correct.
Practice exercises
- Photograph the same object at f/2, f/5.6 and f/11 and compare the backgrounds.
- Photograph moving traffic or a fan at 1/1000, 1/60 and 1/8 to see how motion changes.
- Shoot a scene at ISO 100, 800 and 3200 and zoom in to compare noise.
Learn camera skills with structure
At Karuna Media, run by Puppets Picture Education Trust (PPET) in Noida, the 12-month Karuna Media Master Program trains women from underprivileged homes in media, filmmaking and AI skills, including camera operation, lighting and editing, with support for job placement. You can read about the program and find details on the application page.
If you would like to help more women learn professional camera skills, you can support our work with a donation.
Your next step
Switch your camera to M today and spend 20 minutes on just one exercise from the list above. Once you understand how each setting changes the image, manual mode stops feeling complicated and starts feeling like control.
The Giving Movement by Karuna Media · #TheGivingMovement
Wear the cause: tees, a tote and a mug that fund media training for women
Tee (Black) ₹699 · Tee (White) ₹649 · Tote ₹449 · Mug ₹399. Printed on demand and shipped across India. 100% of the profit funds media training for underprivileged women.
Buy now on Razorpay Prefer to donate? Go to our donate pageMerch is a purchase, not a donation, and is not eligible for 80G. To make a donation, use our donate page.