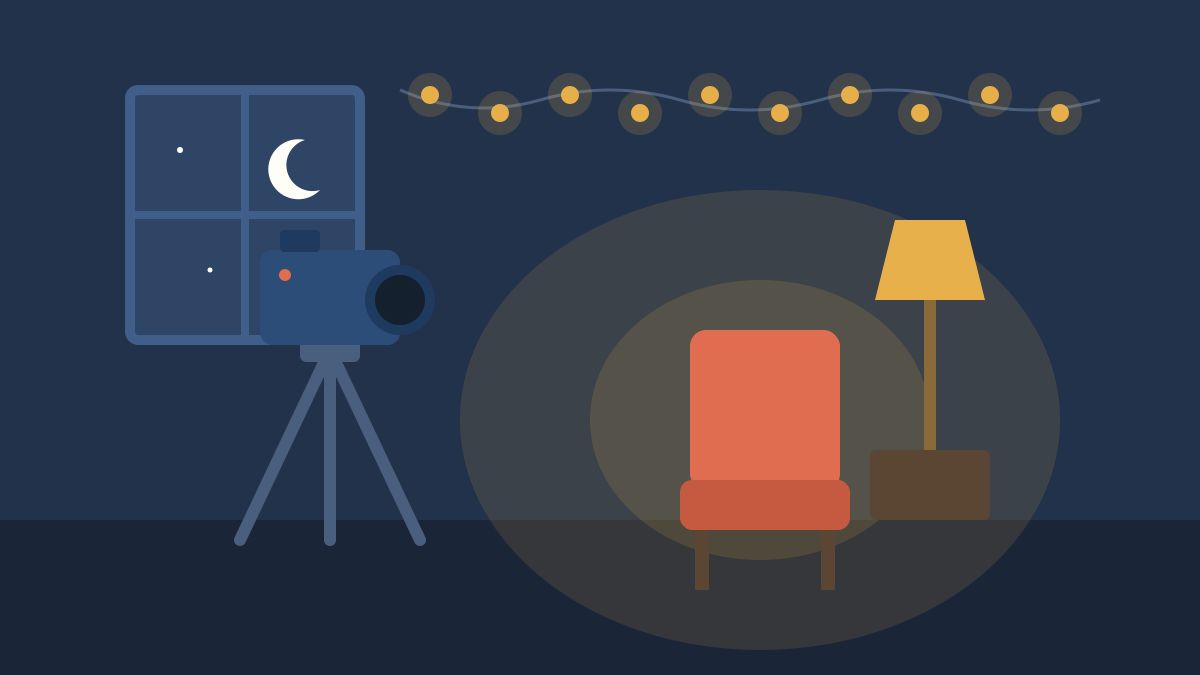
Some of the most interesting scenes happen when the light fades: an evening interview, a shop lit by a single bulb, a street after sunset or a room lit by lamps. They are also where beginner footage most often falls apart, with grainy shadows, smeared faces, flickering lights and focus that hunts back and forth.
This guide explains why video struggles in low light, the order in which to fix it, camera and phone settings, how to avoid flicker, how to focus and stabilise in the dark, what to do in the edit, and an illustrative plan for an evening interview.
Why low light is hard for cameras
A camera sensor needs light to make a clean image. When there is not enough, the camera either records a darker image or amplifies the signal. Amplification, which is what raising ISO or gain does, also amplifies noise, the grainy speckles you see most clearly in shadows. Canon’s guide to ISO and noise explains this trade-off.
Video adds another limit: you cannot simply use a very slow shutter, because each frame must be exposed within a fraction of a second. So low-light video is about collecting as much clean light as possible within those limits.
The order of fixes: light first, ISO last
When a shot is too dark, work through these in order.
- Add or move light. This is the most effective fix. Turn on room lights, move the subject nearer a lamp or window, or add a small LED panel.
- Use practical lights. Lamps, fairy lights and shop signs visible in the frame add mood and light at the same time.
- Open the aperture. A lower f-number lets in more light, but gives a shallower depth of field, so focus becomes more critical.
- Use the slowest sensible shutter speed for your frame rate (see below).
- Raise ISO or gain last, and only as far as needed.
If you are new to these settings, our guide on how to shoot in manual mode explains aperture, shutter speed and ISO.
Camera settings for low-light video
Frame rate and shutter speed
A common guideline is the 180-degree shutter rule: set the shutter speed to about double the frame rate, such as 1/50 for 25 fps. RED explains this in its guide to shutter angles, noting that a larger shutter angle can also be used to gather more light in dim scenes, at the cost of more motion blur.
In low light, avoid high frame rates such as 50 or 60 fps unless you need slow motion, because they force faster shutter speeds and need much more light. Our guide on how to shoot slow-motion video explains why.
ISO
Many cameras have one or two ISO settings where the image is cleanest. Check your camera manual and test. Expose properly at the scene rather than underexposing and brightening later, because lifting dark footage in the edit also lifts the noise.
Aperture and lenses
Lenses with wide maximum apertures, such as f/1.8 or f/2.8, help a great deal. Zoom lenses often lose light as you zoom in, so check the aperture at your chosen focal length.
White balance
Low-light scenes often mix colour temperatures, such as warm bulbs and cool tube lights. Set white balance manually for your main light on the subject’s face. Our guide on how to set white balance for video covers this step by step.
How to avoid flicker
Many artificial lights pulse with the mains electricity supply. If your shutter speed does not match, footage can show flicker or rolling bands. India’s mains supply runs at 50 Hz, so shutter speeds of 1/50 or 1/100 usually work best under mains-powered lights. Nikon’s manual, for example, recommends 1/100, 1/50 or 1/25 for 50 Hz power. Some cheap LED lights and dimmers flicker at other frequencies, so record a short test and play it back on a larger screen.
Shooting low light on a phone
- Lock exposure and focus by long-pressing on the subject, so the phone does not keep changing.
- Avoid digital zoom, which magnifies noise. Move closer instead.
- Use the main lens. On many phones, the main camera gathers more light than the ultra-wide or telephoto lenses.
- Turn off beauty and heavy sharpening effects, which can make noise look worse.
- Try a pro or manual video mode if your phone has one, so you can set shutter speed and ISO.
- Keep the phone still on a tripod or rest it on a firm surface.
Focus and stabilisation in the dark
Autofocus needs contrast and light. In dim scenes it may hunt. Help it by lighting the subject’s face, using face detection, or switching to manual focus with focus peaking or magnification. Use a tripod or a stable support, because slower shutter speeds make shake more visible.
Fixing low-light footage in the edit
- Correct exposure carefully. Small lifts are fine; large ones reveal noise.
- Use noise reduction gently. Too much makes skin look waxy and smears detail.
- Crush shadows slightly if they are noisy and contain nothing important.
- Add a little grain, if it suits the story, to make remaining noise look intentional.
Illustrative example: an evening interview in a small room
This example is illustrative. Kavya is filming a short interview with a tailor at her home workshop after sunset, with one ceiling tube light and a table lamp.
- Light: she switches off the ceiling tube light, which made faces green, and moves the table lamp to one side as the key light. A small battery LED panel, bounced off a white wall, adds soft fill.
- Background: she turns on a string of warm bulbs behind the tailor for depth.
- Settings: 25 fps, shutter 1/50, aperture f/2.8, white balance set manually for the lamp, ISO raised only until the face is correctly exposed.
- Flicker test: a 10-second test clip played back on her laptop shows no banding.
- Focus: manual focus on the eyes, checked with magnification.
- Sound: a lavalier microphone, because low-light rooms are often quiet and intimate.
For more on shaping light, see our guide on video lighting for beginners.
Low-light shooting checklist
- Have I added or moved light before touching ISO?
- Is my frame rate as low as the project allows?
- Is my shutter speed 1/50 or 1/100 under mains lights?
- Is white balance set manually for the main light?
- Is focus locked on the eyes or main subject?
- Is the camera stable?
- Have I recorded and checked a short test clip?
- Am I exposing correctly rather than planning to brighten later?
Keep practising
Low-light skills improve fastest by testing: shoot the same scene at different settings and compare. If you would like structured training in camera, lighting and editing skills, explore our programmes and apply here.
The Giving Movement by Karuna Media · #TheGivingMovement
Wear the cause: tees, a tote and a mug that fund media training for women
Tee (Black) ₹699 · Tee (White) ₹649 · Tote ₹449 · Mug ₹399. Printed on demand and shipped across India. 100% of the profit funds media training for underprivileged women.
Buy now on Razorpay Prefer to donate? Go to our donate pageMerch is a purchase, not a donation, and is not eligible for 80G. To make a donation, use our donate page.