Restaurant menus, food delivery apps, cookbooks, packaged food labels and brand social media all depend on one thing: pictures that make people hungry. The people who create those images are food photographers, and the work ranges from a single plate shot by a window to a full studio production with a food stylist and art director.
This guide explains what a food photographer does, the types of work available in India, the skills and kit to learn, an illustrative shot list for a restaurant shoot and practical first steps.
What does a food photographer do?
A food photographer plans, lights and photographs food and drink for a client’s purpose, whether that is a menu, an advertisement, a recipe or a packaging design. The job includes:
- Understanding the brief: where the image will be used, the format and the mood the client wants.
- Planning the set: props, surfaces, backgrounds and the angle for each dish.
- Lighting: shaping natural or artificial light so the food looks fresh and textured.
- Working with the kitchen or stylist: timing shots so food is photographed at its best.
- Editing and delivery: colour correction, retouching within honest limits and delivering files in the agreed sizes.
Food photography is a specialist branch of product photography. If you are deciding between the two, our guide on how to become a product photographer covers the wider field.
Types of food photography work
Restaurant and cafe photography
Menu images, website photos and social media content for restaurants, cafes, bakeries and cloud kitchens.
Delivery and marketplace images
Food delivery and grocery platforms often have their own image guidelines on size, background and cropping. Always ask the client for the platform’s current requirements.
Packaging and advertising
Brand shoots for packaged foods and beverages. These are usually larger productions with art directors, food stylists and strict approval processes.
Editorial and cookbook photography
Images for magazines, recipe websites and cookbooks, often showing step-by-step cooking as well as the finished dish.
Content creation for food brands
Short videos and photos for Instagram and other platforms, often shot by one person who photographs, styles and edits.
Skills you need
Lighting
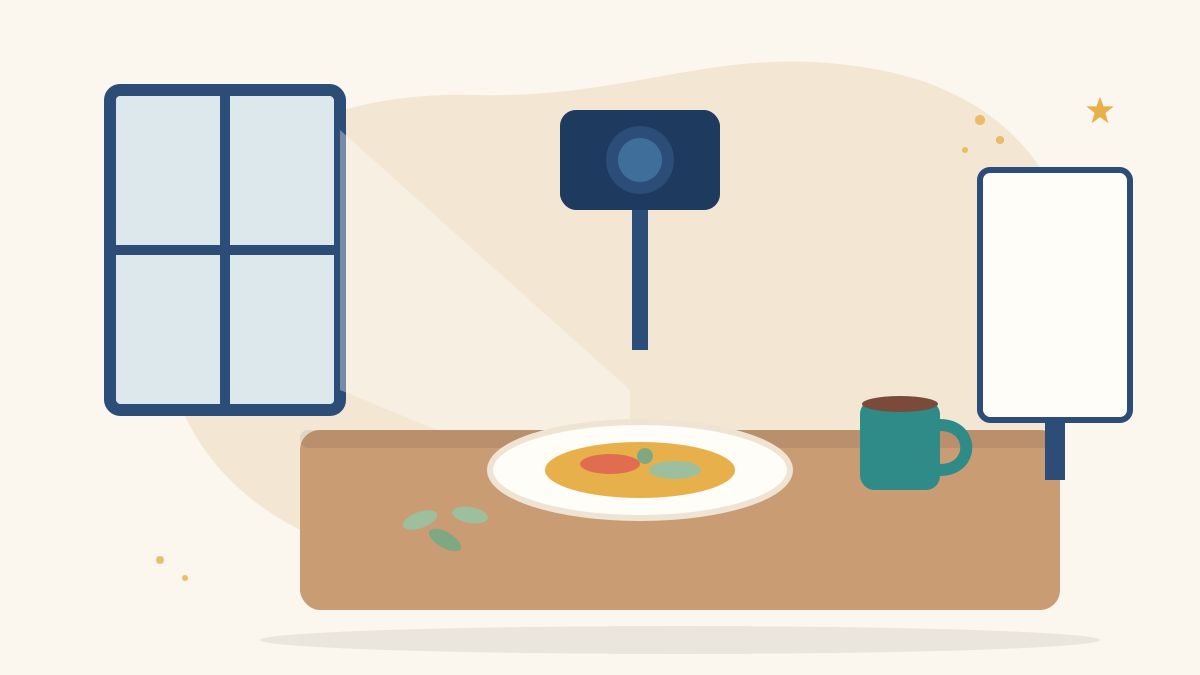
Food is usually lit from the side or from behind. In a Nikon guide to food photography at home, food photographer Donna Crous explains that sidelight is the general rule, backlighting suits clear drinks and glossy dishes, and a white card or reflector opposite the light can soften shadows. Light straight from the front tends to flatten food.
Composition and angles
- Overhead (flat lay): good for thalis, pizzas, platters and table spreads.
- Three-quarter angle (about 45 degrees): close to how a diner sees a plate; works for most single dishes.
- Straight on: for burgers, layered desserts and drinks with height.
Our guide to photography composition rules explains framing ideas such as the rule of thirds and leading lines.
Food styling basics
Large shoots hire a separate food stylist, but every food photographer needs basic styling sense: small plates, fresh garnishes, neutral props, deliberate crumbs and drips, and props that suit the dish. Indian food brings its own challenges, such as curries that look flat and rice that dries quickly, so learn to add texture with herbs, a swirl of cream or a visible piece of the main ingredient.
Editing
Learn to correct white balance and exposure, remove small blemishes and keep colours true to the real dish. Our guide on how to edit photos in Lightroom walks through a basic workflow.
Business and rights
Understand quotes, usage and licences. Under Section 17(b) of the Copyright Act, 1957, as explained in the Copyright Office’s Hand Book of Copyright Law, when a photograph is taken for payment at the instance of a client, the client is the first owner of copyright unless there is an agreement to the contrary. So if you want to keep the copyright, or limit how long and where images are used, put it in writing before the shoot. Take legal advice for complex contracts.
Basic kit
- A camera with manual controls, or a recent phone with a manual (pro) mode
- A standard lens, such as a 50mm, and later a macro lens for close details
- A tripod, especially for overhead shots
- A diffuser and white and black cards to shape the light
- A few neutral surfaces and plates, napkins and cutlery in muted tones
- Tweezers, brushes, a spray bottle and kitchen paper for quick styling fixes
Illustrative example: a restaurant shoot shot list
This example is illustrative. Imagine a small cafe in Noida that wants images for a new menu and Instagram.
- Hero shot: signature masala dosa, three-quarter angle, side window light, chutneys in small bowls behind.
- Overhead spread: four breakfast dishes and two drinks on the cafe’s wooden table, with hands reaching in.
- Detail shot: close-up of the dosa’s crisp edge with a macro lens.
- Drink shot: cold coffee, backlit to show the colour, condensation on the glass.
- Process shot: batter being spread on the tawa, shot at a fast shutter speed.
- Ambience shot: the counter and seating, no customers’ faces without consent.
- Vertical versions of shots 1, 2 and 4 for stories and reels covers.
Before the shoot, confirm: the dish order with the kitchen, which items must be shot first because they wilt or melt, the delivery format and where the images may be used.
How to become a food photographer in India
- Learn photography fundamentals: exposure, light direction and white balance.
- Shoot daily at home. Photograph the same dish under different light directions and compare the results.
- Study published work. Look at menus, cookbooks and food brand pages, and note the light, angle and props.
- Assist a working photographer or stylist. You will learn set timing, client handling and how much preparation a shoot needs.
- Do a few practice shoots for local cafes or home bakers, with a written agreement on how the images can be used.
- Build a focused portfolio of 15 to 25 strong images, grouped by style. A simple portfolio website makes it easy to share.
- Learn basic video. Many food clients now ask for short clips along with stills.
Common mistakes to avoid
- Shooting under mixed lighting such as a yellow ceiling bulb plus window light.
- Waiting too long. Food changes fast; set up with a stand-in plate first.
- Over-editing until the dish no longer looks like the real one.
- No written agreement on usage and payment.
Learn photography and media skills with Karuna Media
Karuna Media, an initiative of Puppets Picture Education Trust (PPET) in Noida, trains women from underprivileged backgrounds in media, filmmaking and AI skills through the Karuna Media Master Program, so they can build portfolios for creative careers.
- Want to learn? Read about the program and apply here.
- Want to help more women build creative careers? Support our work through the donate page.
Your next step
Tomorrow, photograph one dish three ways: overhead, at 45 degrees and straight on, using only window light from the side. Then shoot it once more with the light from behind. Put the four images side by side and decide which tells the dish’s story best.
The Giving Movement by Karuna Media · #TheGivingMovement
Wear the cause: tees, a tote and a mug that fund media training for women
Tee (Black) ₹699 · Tee (White) ₹649 · Tote ₹449 · Mug ₹399. Printed on demand and shipped across India. 100% of the profit funds media training for underprivileged women.
Buy now on Razorpay Prefer to donate? Go to our donate pageMerch is a purchase, not a donation, and is not eligible for 80G. To make a donation, use our donate page.