Good audio makes viewers and listeners trust what they hear. Whether you are cleaning up a voice-over, editing a podcast episode or preparing an interview for a video, Audacity is one of the most widely used audio editors for beginners. It is open-source software that runs on Windows, macOS and Linux, and it covers everything a new editor needs: recording, cutting, cleaning, levelling and exporting audio.
This guide shows you how to use Audacity step by step, using menu names from recent Audacity 3.x versions. Menus can move slightly between versions, so if something looks different, check the official Audacity manual linked from your own copy.
What you need before you start
- Audacity installed from the official website, audacityteam.org. Avoid download sites that bundle extra software.
- Headphones, so you hear small clicks and background noise that laptop speakers hide.
- A recording or a microphone. If you are recording at home, our guides to recording voice-over at home and choosing a microphone help you capture cleaner sound before you edit.
- A copy of your original file. Always keep the untouched recording safe in case you need to start again.
Getting to know the Audacity window
When you open Audacity you will see a few key areas:
- Toolbar: buttons for Play, Stop, Record, Skip to start and Skip to end, plus tools for selecting audio.
- Recording meter: shows how loud your input is while recording or playing.
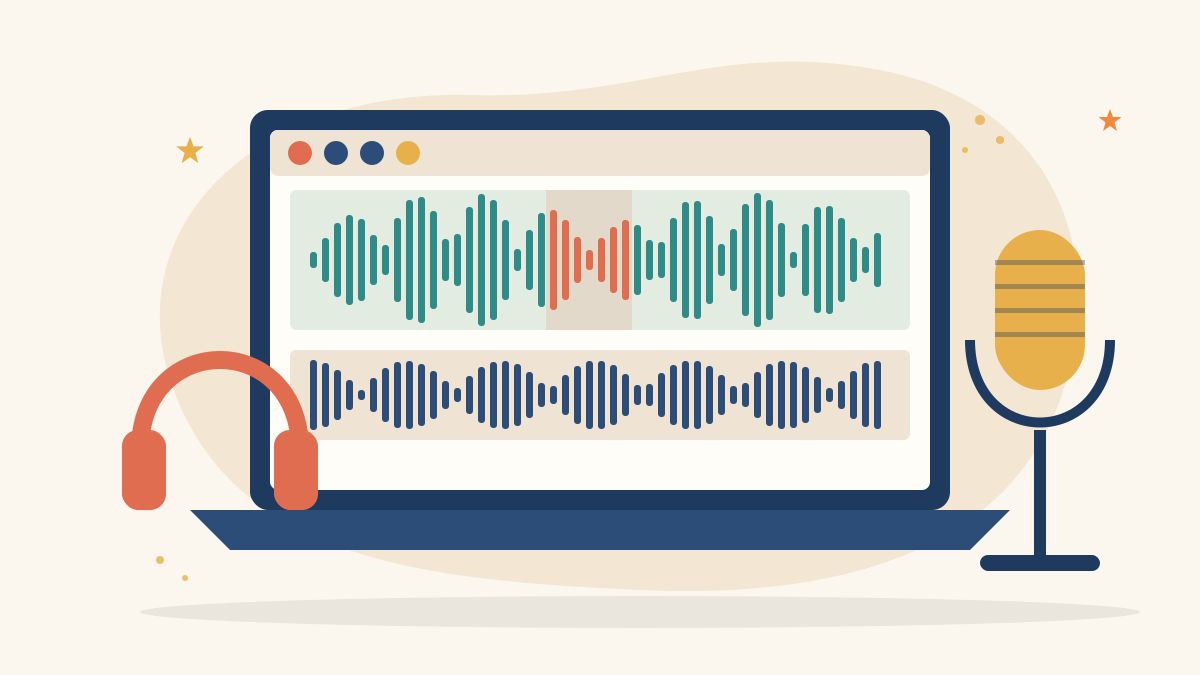
- Tracks area: your audio appears here as a waveform, the picture of sound level over time. Taller waves are louder.
- Timeline: shows time from the start of the project, so you can find a moment quickly.
Press the space bar to play and stop. Click and drag across the waveform to select a section.
How to use Audacity: step by step
Step 1: Import or record audio
To edit an existing file, drag it into the window or use File > Import > Audio. To record, choose your microphone in the device settings, then press Record. Watch the meter: aim for your loudest words to stay well below the right-hand end so the sound does not clip (distort).
Step 2: Save your project
Use File > Save Project to save an Audacity project (an .aup3 file). A project keeps your tracks and edits so you can come back later. It is not the same as an audio file you can share; you create that at the end with Export.
Step 3: Cut mistakes and long pauses
Select a mistake, a cough or a long pause and press Delete. Listen across the cut to make sure words are not clipped. To break a clip into pieces you can move separately, place the cursor and use Edit > Audio Clips > Split (Ctrl+I on Windows).
Step 4: Reduce steady background noise
For steady noise such as a fan or hiss, select a few seconds of “room tone” (noise with no speech), then open Effect > Noise Removal and Repair > Noise Reduction and click Get Noise Profile. Next, select the whole recording, open Noise Reduction again, preview the result and click OK. Use the smallest amount of reduction that helps: too much makes a voice sound watery. The manual notes that this effect suits steady noise, not changing sounds such as traffic.
Step 5: Even out loud and quiet parts
A compressor reduces the gap between loud and quiet moments so speech sounds steady. Find it under Effect > Volume and Compression > Compressor. Start with gentle settings and compare before and after.
Step 6: Set a consistent loudness
Use Effect > Volume and Compression > Loudness Normalization to set the perceived loudness of your audio to a target in LUFS, which is how many platforms measure loudness. Audacity’s support guide to loudness normalization recommends applying it as a final step before export. If your platform or client gives a loudness target, use that number.
Step 7: Add fades
Select the first or last second of your audio and apply a fade in or fade out from the Effect menu (look under the Fading group). Fades remove abrupt starts and endings, especially when music is involved.
Step 8: Export your finished audio
Use File > Export Audio (Ctrl+Shift+E on Windows). Choose whether to export the full project or only a selection, then pick a format. According to the Audacity manual on exporting, MP3 is widely accepted, and 128 kbps is a safe default for speech. Use WAV when a video editor or client wants an uncompressed file, and export mono recordings as mono.
Worked example: cleaning a two-minute voice-over
This example is illustrative. Suppose you recorded a two-minute narration for a short NGO video on a laptop microphone in a room with a ceiling fan.
- Import the file and save a project called “narration-v1”.
- Delete the false starts and a cough at 0:45. Shorten two long pauses to under a second.
- Select two seconds of fan noise before you began speaking and take a noise profile. Apply gentle Noise Reduction to the whole track and listen on headphones.
- Apply a gentle Compressor so quieter sentences are easier to hear.
- Apply Loudness Normalization to the target your video editor suggests.
- Add a short fade in and fade out.
- Export as WAV for the video edit and MP3 for review on a phone.
- Listen once on headphones and once on a phone speaker before sending.
Save this list as your standard cleanup routine and adjust it for each project.
Common beginner mistakes
- Editing the original file without a backup. Keep the source safe.
- Too much noise reduction. Aim for cleaner, not silent.
- Recording too loud. Clipped audio cannot be fully repaired.
- Forgetting room tone. Record a few seconds of silence at the start of every session.
- Sharing the project file instead of an export. Clients need an audio file, not an .aup3 project.
Where Audacity skills lead
Audio editing is useful in podcasting, voice-over work, video editing, radio and e-learning. If you want to turn these skills into a show, read our guide on how to start a podcast. For quick fixes when you only have a phone, see how to record clear audio on a phone.
Learn creative and digital skills with Karuna Media
Karuna Media, an initiative of Puppets Picture Education Trust (PPET) in Noida, trains women from underprivileged backgrounds in media, filmmaking and AI skills through the Karuna Media Master Program, so they can build portfolios for creative careers.
- Want to learn? Read about the program and apply here.
- Want to help more women enter creative careers? Support our work through the donate page.
Your next step
Record one minute of yourself reading a paragraph aloud, then follow the eight steps above. Compare the raw and finished versions on headphones. Hearing the difference is the fastest way to learn what each tool does.
The Giving Movement by Karuna Media · #TheGivingMovement
Wear the cause: tees, a tote and a mug that fund media training for women
Tee (Black) ₹699 · Tee (White) ₹649 · Tote ₹449 · Mug ₹399. Printed on demand and shipped across India. 100% of the profit funds media training for underprivileged women.
Buy now on Razorpay Prefer to donate? Go to our donate pageMerch is a purchase, not a donation, and is not eligible for 80G. To make a donation, use our donate page.