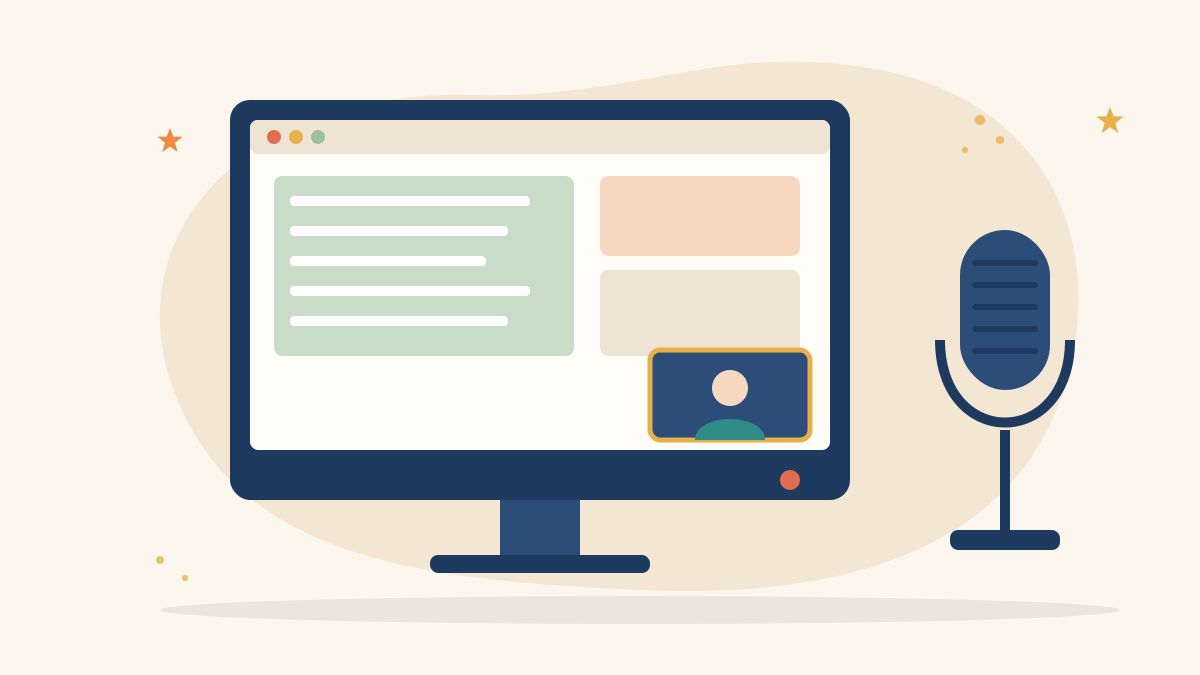
Screen recordings are everywhere: software tutorials, online lessons, product demos, explainer videos and recorded presentations. OBS Studio is one of the most popular tools for making them. It is open-source, runs on Windows, macOS and Linux, and lets you combine your screen, webcam, images and microphone into one professional-looking recording or live stream.
OBS can look complicated the first time you open it. This guide walks you through how to use OBS Studio step by step, from first setup to your first clean recording, using menu names from recent versions.
What you need before you start
- OBS Studio, downloaded only from the official site, obsproject.com.
- A microphone. A headset or USB microphone usually sounds better than a laptop’s built-in mic.
- Headphones, so your speakers do not leak into the microphone.
- A short plan or script. Even a list of the three points you want to cover keeps a recording focused. Our guide on how to make an explainer video shows how to plan a short, clear tutorial.
Understanding the OBS window
OBS is built around a few ideas:
- Scenes: a scene is a layout, such as “Screen with webcam” or “Webcam only”. You can switch between scenes while recording.
- Sources: the items inside a scene, such as your display, a browser window, your webcam, an image or text.
- Audio Mixer: shows the level of each audio source so you can see your microphone and desktop audio working.
- Controls: buttons for Start Recording, Start Streaming, Studio Mode and Settings.
Once you understand that scenes contain sources, the rest of OBS makes sense.
How to use OBS Studio: step by step
Step 1: Run the Auto-Configuration Wizard
The first time OBS opens, it offers the Auto-Configuration Wizard. Choose to optimise for recording if you are not streaming. The OBS quick start guide explains that the wizard takes your computer’s hardware into account. You can run it again any time from Tools > Auto-Configuration Wizard.
Step 2: Check your video settings
Open Settings > Video. The base (canvas) resolution is the size of your layout, and the output (scaled) resolution is the size of the final file. For most tutorials, 1920×1080 at 30 frames per second is a sensible starting point. If your computer struggles, try 1280×720.
Step 3: Add your screen
In the Sources dock, click the + button. Choose Display Capture to record a whole monitor, or Window Capture to record a single app (on macOS, use the macOS Screen Capture source). Window Capture is useful because notifications and other windows will not appear in your recording.
Step 4: Add your webcam
Click + again and choose Video Capture Device, then select your camera. Drag the webcam box to a corner and resize it by dragging the red handles. To crop, hold Alt (Option on a Mac) while dragging an edge.
Step 5: Set up your audio
By default, OBS captures desktop audio and your microphone. Speak normally and watch the Audio Mixer: the meter should move mostly in the green and yellow range and never hit the red. If nothing moves, go to Settings > Audio and pick the correct device. For a cleaner voice, click the three dots or gear icon next to your microphone, open Filters and add Noise Suppression.
Step 6: Choose where and how to save recordings
Open Settings > Output. Note the Recording Path so you know where files will be saved. Then check the Recording Format. According to the OBS audio and video formats guide, Hybrid MP4 (Windows and Linux) and Hybrid MOV (macOS) combine crash resilience with wide compatibility in editing software. Plain MP4 is not recommended for recording because an interrupted file may not be recoverable. If you record in MKV, use File > Remux Recordings to convert it to MP4 before editing.
Step 7: Do a test recording
Click Start Recording, talk for 30 seconds while moving around your screen, then click Stop Recording. Open the file and check three things: is the text on screen readable, is your voice clear, and is your voice in sync with the picture? Fix any problem before your real recording.
Step 8: Record, then edit
Record your tutorial. If you make a mistake, pause for two seconds and repeat the sentence; it is easy to cut out later. Then trim and polish the recording in an editor. Our guide on how to use CapCut covers simple edits such as trimming, captions and music.
Worked example: a scene setup for an online lesson
This example is illustrative. Suppose you are recording a ten-minute lesson on using a spreadsheet for a women’s self-help group.
- Scene 1, “Intro”: webcam full screen with a text source showing the lesson title.
- Scene 2, “Screen + webcam”: Window Capture of the spreadsheet app, with your webcam small in the bottom-right corner.
- Scene 3, “Screen only”: Window Capture alone, for detailed steps where the webcam would cover cells.
- Scene 4, “Outro”: webcam with a text source showing where to find the next lesson.
- Audio: headset microphone with Noise Suppression; desktop audio muted, because the lesson has no sound from the computer.
- Hotkeys: in Settings > Hotkeys, assign keys to switch scenes so you do not need to click OBS during the lesson.
Save this layout and reuse it for every lesson so your series looks consistent.
Tips for professional-looking recordings
- Close notifications and unrelated tabs before you start.
- Increase text size in apps and browsers so viewers can read on a phone.
- Light your face from the front, such as by sitting facing a window.
- Keep your voice level steady. Our guide on recording voice-over at home explains how to set up a quieter space.
- Record in short sections. Shorter clips are easier to redo and edit.
Common beginner mistakes
- Recording a black screen. On some laptops, Display Capture needs extra settings or a different GPU option. Check the OBS help pages if this happens.
- Forgetting to check audio. Always do a test recording.
- Using MP4 without hybrid mode, then losing a file after a crash.
- Letting the webcam cover important content. Move or hide it in a different scene.
- Not knowing where recordings are saved. Check the Recording Path in Settings > Output.
Where OBS skills lead
OBS is used by educators, YouTubers, trainers, live-streamers and corporate communication teams. If you want to share tutorials online, our guide on starting a YouTube channel covers the next steps.
Learn creative and digital skills with Karuna Media
Karuna Media, an initiative of Puppets Picture Education Trust (PPET) in Noida, trains women from underprivileged backgrounds in media, filmmaking and AI skills through the Karuna Media Master Program, so they can build portfolios for creative careers.
- Want to learn? Read about the program and apply here.
- Want to help more women enter creative careers? Support our work through the donate page.
Your next step
Set up one scene with your screen and webcam, record a one-minute explanation of something you know well and watch it back. Change one thing, record again and compare. That loop is how every good screen recorder improves.
The Giving Movement by Karuna Media · #TheGivingMovement
Wear the cause: tees, a tote and a mug that fund media training for women
Tee (Black) ₹699 · Tee (White) ₹649 · Tote ₹449 · Mug ₹399. Printed on demand and shipped across India. 100% of the profit funds media training for underprivileged women.
Buy now on Razorpay Prefer to donate? Go to our donate pageMerch is a purchase, not a donation, and is not eligible for 80G. To make a donation, use our donate page.