Adobe After Effects is the tool many editors and designers use for motion graphics: animated titles, lower thirds, logo reveals, simple visual effects and compositing. If you can edit video but want your titles and graphics to move, this beginner’s guide explains how to use After Effects step by step: create a composition, import assets, animate with keyframes, add effects, tidy your project and export. Panel names and menus can change between versions, so check Adobe’s own user guide when something looks different.
What is After Effects used for?
After Effects is not a video editor in the way a program such as Premiere Pro is. It is built for layering and animating. Typical uses include:
- Motion graphics: animated text, shapes, icons and infographics.
- Titles and lower thirds: name captions that slide in over an interview.
- Logo animation: short reveals for the start or end of a video.
- Compositing and simple effects: combining footage and graphics, or removing small distractions.
- Social media graphics: animated posts and short loops.
Many editors cut their video in an editor such as Premiere Pro and use After Effects for graphics, then bring the finished clip back into the edit.
Set up a project and a composition
A project file holds your assets and compositions. A composition, usually shortened to comp, is like a canvas with its own timeline, size, frame rate and duration. For a standard online video, many creators use 1920 by 1080 pixels at the same frame rate as their footage. Choose a duration slightly longer than you need, because it is easier to trim than to extend.
Save the project early in a folder you will remember. Keep subfolders for footage, audio, graphics and exports, and save often.
Import assets
Bring in your files through the file menu or by dragging them into the Project panel. You can import video, audio, images and layered design files. For logos and icons, vector files such as SVG or Illustrator files stay sharp when you scale them, while small images may look soft if you enlarge them. Name your files clearly.
Learn the main panels
- Project panel: the library of your assets and compositions.
- Composition panel (viewer): what you see at the current frame.
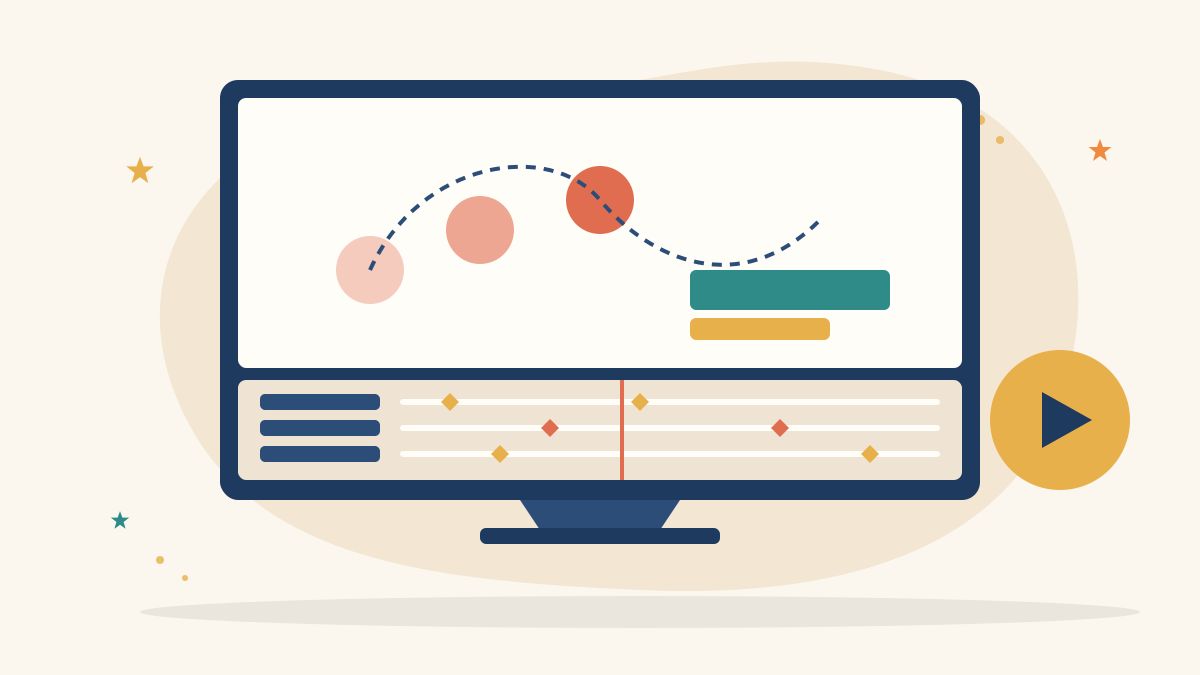
- Timeline panel: the layers, their order and their timing.
- Tools panel: selection, text, shapes, pen and other tools.
- Effects and Presets panel: a searchable list of effects you can apply to a layer.
Layers stack like transparent sheets: a layer higher in the stack appears in front of the layers below it. Move a layer’s start and end points in the timeline to control when it appears.
Animate with keyframes
Keyframes are the heart of After Effects. A keyframe records a value, such as position or opacity, at a point in time. When you set two keyframes with different values, After Effects fills in the change between them.
- Select a layer and open its Transform properties: Anchor Point, Position, Scale, Rotation and Opacity.
- Move the playhead to the moment you want the animation to start.
- Click the stopwatch next to a property, for example Opacity, to create the first keyframe.
- Move to a later time and change the value. A second keyframe appears.
- Press the spacebar or use the preview controls to watch the result.
Make motion feel natural
Linear motion can feel mechanical. Select your keyframes and apply easing, often available through the Easy Ease option in the right-click menu. Easing makes an object start and stop gradually, which usually looks more natural. Open the Graph Editor to refine the speed curve when you need more control.
Worked example: animate a lower third
This is an illustrative exercise for a simple name caption over an interview. You can adapt the colours, fonts and timing.
- Create a 1920 by 1080 composition, 5 seconds long, and place a clip or a plain colour layer as the background.
- Draw a rectangle with the Rectangle tool and give it a solid colour. Add a second, thinner rectangle as an accent line.
- Add the person’s name with the Text tool, and a smaller line for their role below it.
- Animate the rectangle: set a Position or Scale keyframe so the bar slides or grows in over about half a second, and apply Easy Ease.
- Animate the text so it fades in just after the bar arrives, using Opacity keyframes.
- Animate everything out near the end of the comp by reversing the movement.
- Preview, check that the text is readable on a phone screen and keep it within safe margins.
When you are happy with it, export it with transparency or place the comp in your edit, depending on your workflow.
Add effects and presets
Open the Effects and Presets panel, search for an effect and drag it onto a layer. Common beginner choices are a drop shadow for readability, a blur for a soft background and a simple glow. Use effects lightly. Animation that supports the message will look more professional than animation that distracts from it.
Work cleanly in larger projects
- Name your layers, so you can find them later.
- Use colour labels to group similar layers.
- Pre-compose a group of layers when a part of the project becomes crowded. This nests them in a new composition.
- Use shape layers and text layers where possible, so you can edit them without re-exporting.
Export your animation
You can send a composition to the Render Queue or to Adobe Media Encoder. For most online videos, a widely supported video format such as H.264 is a good choice. If you need a graphic with a transparent background to place in another editor, choose a format that supports transparency. Check Adobe’s current guidance for the exact settings in your version, then watch your exported file from start to end before you share it.
Common beginner mistakes
- Starting without a plan. Sketch the animation on paper first, with a start state and an end state.
- Animating everything at once. Learn position, scale and opacity before you try complex effects.
- Forgetting easing. Flat movement is the easiest thing to fix.
- Using too many fonts and colours. Choose one or two of each.
- Ignoring file organisation. Missing files make projects hard to reopen.
Where to learn more
Adobe publishes an official After Effects user guide and tutorials at helpx.adobe.com. Look for the beginner tutorials and follow along in the version you have. Pair this with related skills such as becoming a motion graphics artist and making an explainer video, where After Effects often plays a part.
Learn creative and digital skills with Karuna Media
Karuna Media, an initiative of Puppets Picture Education Trust (PPET) in Noida, runs the 12-month Karuna Media Master Program for women from underprivileged backgrounds. Learners build media, filmmaking and AI skills with support for job placement, so they can create portfolios that open doors to creative careers.
- Want to learn? Read about the program and apply here.
- Want to help more women enter creative careers? Support our work through the donate page.
Your next step
Build the lower third above today: one rectangle, one name, a few keyframes and easing. Export it and drop it onto a clip. Once you can animate a caption, learning how to use After Effects for logos, icons and short motion graphics becomes much easier.
The Giving Movement by Karuna Media · #TheGivingMovement
Wear the cause: tees, a tote and a mug that fund media training for women
Tee (Black) ₹699 · Tee (White) ₹649 · Tote ₹449 · Mug ₹399. Printed on demand and shipped across India. 100% of the profit funds media training for underprivileged women.
Buy now on Razorpay Prefer to donate? Go to our donate pageMerch is a purchase, not a donation, and is not eligible for 80G. To make a donation, use our donate page.