Adobe Premiere Pro is one of the most widely used tools for editing video, from student films and YouTube episodes to advertisements and documentary cuts. This beginner’s guide explains how to use Premiere Pro step by step: set up a project, import clips, edit on the timeline, make basic audio fixes, add titles and export a finished video. Panel names can shift slightly between updates, but the work stays the same: bring media in, arrange it on a timeline, refine the cuts and export a file people can watch.
Set up a new project
When you create a new project, choose a name and a folder you will remember. Keep each project in its own folder, with subfolders for video, audio, graphics and exports. Premiere Pro stores a project file that points to your media. If you later move or rename the original clips without telling Premiere, the project will show missing media.
A sequence is the timeline you edit on. You can let Premiere Pro create a sequence from your first clip, matching that clip’s frame size and frame rate, or create one yourself. For most online videos, editors work at 1920 by 1080. Matching your sequence to your main footage avoids unexpected scaling or stretched motion.
Import your clips
Open the project panel, which is the library of everything in this edit, and import your video, audio and images through the file menu or by dragging files in. If you shot several takes or recorded separate sound, import those files too.
Before you cut, watch each clip, mark the takes you want and note problems such as sudden noise, a shaky shot or a clip that is too dark. Give bins or folders clear names, such as Interviews, B-roll and Music. A tidy project is easier to finish when you return to it the next day.
Understand the timeline
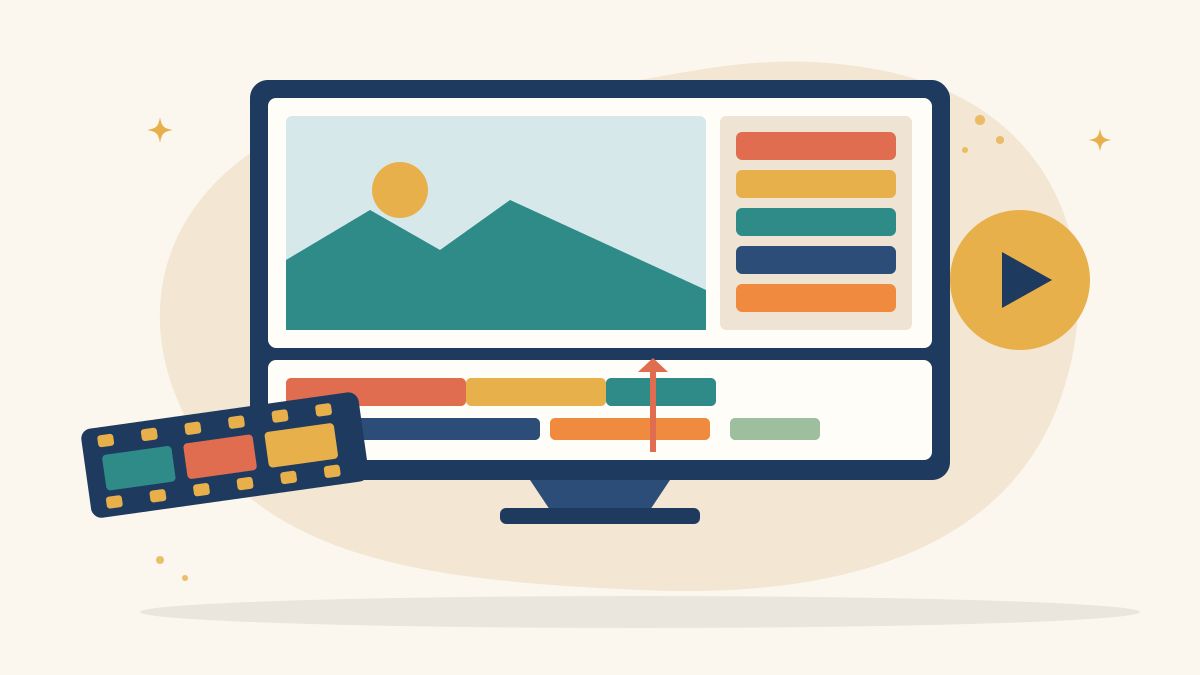
The timeline is where the edit happens. Video usually sits on tracks labelled V1, V2 and above. Audio sits on tracks labelled A1, A2 and above. The playhead is the vertical line that shows which frame you are seeing in the program monitor.
To start, drag a clip from the project panel onto V1, play through it and add the next clip beside it. This is a rough cut: the story in order, without perfect timing yet. Zoom in for a precise cut, zoom out to see the whole scene, keep related clips together and save often with clear project names.
Cut with the razor and ripple tools
Editing is the art of choosing what to leave out. Two actions you will use constantly are splitting a clip and closing the gap that a deletion leaves.
The razor tool cuts a clip at the playhead, turning one piece into two. Use it when you want to remove a middle section, such as a repeated sentence or a long pause. After you razor both ends of the part you do not want, select that middle piece and delete it. A ripple delete then pulls everything after it to the left, so you do not leave a hole of black video or silence.
Work in passes rather than trying to finish every cut at once:
- Assemble the story as a rough cut.
- Remove obvious mistakes and repeated lines.
- Tighten pauses so the scene moves at the pace you want.
- Watch the whole piece without stopping before you make more changes.
Adjust basic audio
Clear sound matters as much as clear pictures. Select a clip and look at its audio level. If the waveform looks tiny, the clip is too quiet; if it is constantly hitting the top, it may be too loud and distorted.
Start with simple fixes:
- Raise or lower a clip’s volume so voices sit at a comfortable, steady level.
- Use keyframes if you only need to dip the music under a sentence and bring it back afterwards.
- Lower background music whenever someone is speaking, so words are easy to hear on a phone speaker.
- Cut out coughs, long ums and accidental bumps when they distract from the meaning.
Software cannot fully rescue a recording made next to a mixer grinder or an open window on a main road. Better sound at the source always helps.
Add titles and simple text
Titles tell the viewer who is speaking, what the video is called or what they should do next. Add text with the type tool, then position it in the program monitor. Keep titles large enough to read on a phone and on screen long enough to be taken in.
Use one or two typefaces, place a name lower-third so it does not cover the face, and check contrast: white text on a bright window will disappear unless you add a darker background or shadow. A simple fade or a clean static title is better than movement that distracts from the story.
Export your video
When the picture, sound and titles feel finished, export a file for the place it will be watched. Open the export settings and choose a format suited to online video, commonly H.264. Match the source when you want the export to keep the same size and frame rate as your sequence. Presets for YouTube, Vimeo or similar platforms are a good starting point for web videos.
Before you export, watch the full timeline with headphones, check the first and last frames and choose a clear file name. Exporting can take time, especially on a long film or an older computer. Let the process finish before you close the project.
Common beginner mistakes
- Editing on a sequence that does not match the footage, which can make motion look strangely fast or slow.
- Covering messy sound with music that is still too loud.
- Adding too many transitions and effects before the story makes sense.
- Exporting once, uploading immediately and only then noticing a typo in the title.
Learn creative and digital skills with Karuna Media
Karuna Media, an initiative of Puppets Picture Education Trust (PPET) in Noida, runs the 12-month Karuna Media Master Program for women from underprivileged backgrounds. Learners build media, filmmaking and AI skills with support for job placement, so they can create portfolios that open doors to creative careers. The program is not an Adobe course; it teaches broader media and filmmaking skills that you can apply in tools such as Premiere Pro.
- Want to learn? Read about the program and apply here.
- Want to help more women enter creative careers? Support our work through the donate page.
Your next step
Create a small practice project today: import a few clips, make a one-minute rough cut, clean the sound, add a simple title and export it. How to use Premiere Pro becomes much clearer once you have finished a short piece from start to finish.
The Giving Movement by Karuna Media · #TheGivingMovement
Wear the cause: tees, a tote and a mug that fund media training for women
Tee (Black) ₹699 · Tee (White) ₹649 · Tote ₹449 · Mug ₹399. Printed on demand and shipped across India. 100% of the profit funds media training for underprivileged women.
Buy now on Razorpay Prefer to donate? Go to our donate pageMerch is a purchase, not a donation, and is not eligible for 80G. To make a donation, use our donate page.