Shaky footage is one of the quickest ways to make a video look amateur. A gimbal solves that problem by keeping your camera or phone steady while you walk, turn and follow the action. Gimbals are now affordable and compact, and they are used for vlogs, weddings, real estate tours, short films, interviews and social media content. But simply switching one on does not guarantee smooth video. This beginner’s guide explains how to use a gimbal properly, from balancing and choosing modes to walking techniques and the most useful shots to practise.
What is a gimbal?
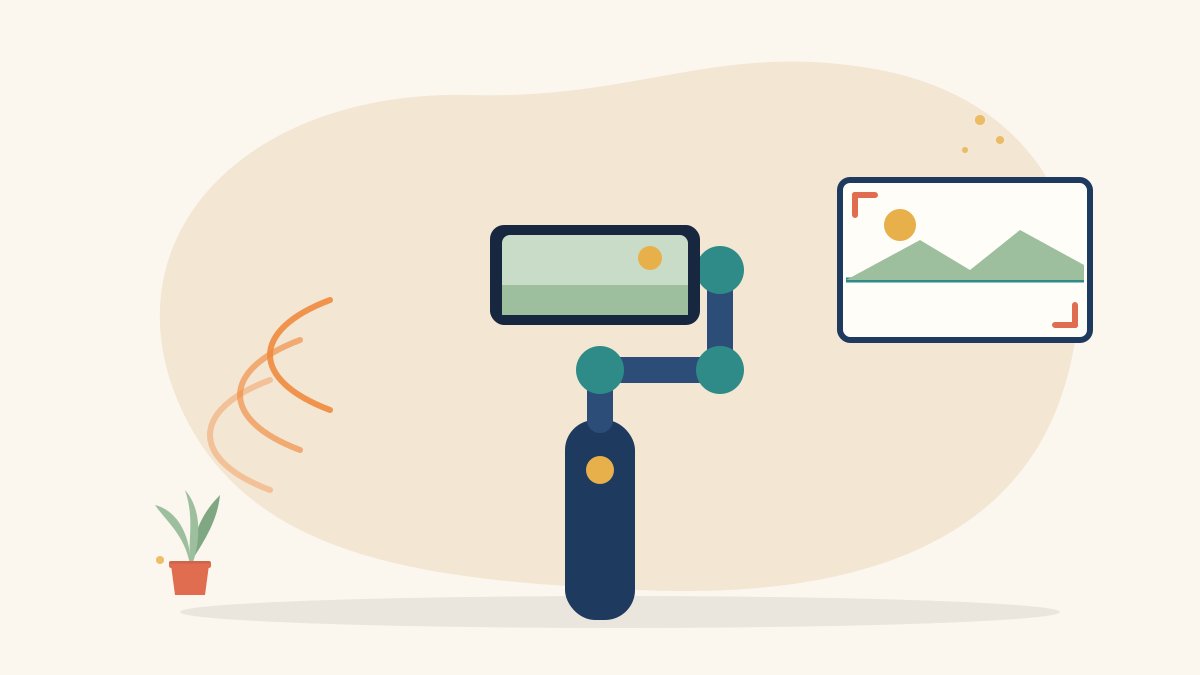
A gimbal is a handheld stabiliser with motors and sensors. When your hand moves or tilts, the motors move in the opposite direction to keep the camera level and steady. Most modern gimbals stabilise three axes:
- Tilt: up and down movement
- Pan: left and right movement
- Roll: rotation from side to side
There are two main types. Smartphone gimbals hold a phone and are light enough for everyday use. Camera gimbals are larger and built to carry mirrorless or DSLR cameras with lenses.
Before you start: charge, update and check
- Fully charge the gimbal and your phone or camera
- Install the gimbal’s companion app if it has one and update the firmware
- Clean your lens and clear storage space on your device
- Remove loose straps, lens caps or anything that could knock against the arms
How to balance a gimbal
Balancing is the most important step. A well-balanced gimbal uses less battery, has smoother motors and is less likely to shake or show errors. Always balance with the gimbal switched off and your device fully set up, including any lens, case or microphone you plan to use.
Balancing a smartphone gimbal
- Remove any heavy phone case or accessories that are not needed.
- Place the phone in the clamp so the centre of the phone sits roughly in the centre of the clamp.
- Hold the gimbal and see whether the phone tips to one side.
- Slide the phone or adjust the arm, depending on your model, until the phone stays level on its own.
- Switch the gimbal on and check that it stays steady without vibrating.
Balancing a camera gimbal
- Mount the camera on the quick-release plate with the lens and accessories attached.
- Balance the tilt axis so the camera stays still when pointed forward, up or down.
- Balance the roll axis so the camera does not lean to one side.
- Balance the pan axis so the arm does not swing when you tilt the gimbal.
- Power on and run the auto-tune or calibration option if your gimbal offers one.
Each model is slightly different, so follow the instructions in your gimbal’s manual.
Understanding gimbal modes
Most gimbals offer several modes. Names vary by brand, but these are the common ones:
- Pan follow: The camera follows your left and right movement but keeps tilt and roll locked. This is the best everyday mode.
- Pan and tilt follow: The camera follows both side-to-side and up-and-down movement, useful when walking up stairs or following a moving subject.
- Lock mode: The camera stays pointed in one direction even when you turn the handle. Good for steady push-in shots.
- FPV or full follow: All axes follow your hand, allowing dynamic rotating shots.
- Face or object tracking: Available on many phone gimbals, the camera keeps a selected person or object in the frame.
Start with pan follow mode while you learn, then try the others once you are comfortable.
How to walk with a gimbal
Even a good gimbal cannot fully remove the up-and-down bounce of normal walking. Practise these techniques:
- The ninja walk: Bend your knees slightly, walk heel to toe and keep your steps short and smooth.
- Hold with both hands: Use two hands or keep your elbows close to your body for extra stability.
- Lead with your body: Turn your whole body for pans rather than twisting your wrist.
- Move slowly: Slow, deliberate movement almost always looks more cinematic than fast movement.
- Look ahead: Plan your path before you record so you do not trip or stop suddenly.
Camera settings for smooth gimbal footage
- Use a shutter speed around double your frame rate, for example 1/50 at 25 fps, for natural motion blur
- Lock your exposure and focus where possible so brightness does not jump during the shot
- Avoid extreme digital zoom, because it magnifies any small shake
- Use a wider lens or the phone’s main or wide camera for the smoothest results
- Shoot at 50 or 60 fps if you want the option to slow footage down in editing
Gimbal shots every beginner should practise
1. Push in
Walk slowly towards your subject while keeping it centred. It builds focus and drama.
2. Pull out
Walk backwards away from a subject to reveal the wider scene. Ask someone to guide you so you stay safe.
3. Follow shot
Walk behind your subject as they move. This works well for vlogs, travel videos and documentaries.
4. Orbit
Circle around your subject while keeping the camera pointed at them. Lock mode or tracking makes this easier.
5. Reveal
Start with the camera behind a wall, plant or object, then move sideways or upwards to reveal the scene.
6. Low-angle tracking
Hold the gimbal upside down in underslung mode, if your model supports it, to film close to the ground for dynamic movement shots.
Common gimbal mistakes and how to fix them
- Motors vibrating or buzzing: The device is not balanced, or the motor strength setting is too high. Rebalance first.
- Horizon slowly tilting: Recalibrate the gimbal on a flat surface.
- Footage still bouncing: Work on your walking technique and slow down.
- Jerky pans: Reduce the follow speed in the app or settings.
- Battery dying quickly: Poor balance makes the motors work harder.
Practice plan for your first week
- Day one: balance your gimbal and test every mode indoors.
- Day two: practise the ninja walk along a straight line.
- Day three: shoot push in and pull out shots.
- Day four: practise follow shots and orbits with a friend.
- Day five: shoot a one-minute video using at least four different gimbal shots and edit it together.
Learn camera and filmmaking skills with Karuna Media
At Karuna Media, run by Puppets Picture Education Trust (PPET) in Noida, the 12-month Karuna Media Master Program trains underprivileged women in media, filmmaking and AI skills, with support for job placement. Students practise camera handling, lighting, sound and editing on real projects.
Explore the Karuna Media Master Program or apply now to start learning. If you would like to help more women gain hands-on media skills, you can donate to support their training.
The Giving Movement by Karuna Media · #TheGivingMovement
Wear the cause: tees, a tote and a mug that fund media training for women
Tee (Black) ₹699 · Tee (White) ₹649 · Tote ₹449 · Mug ₹399. Printed on demand and shipped across India. 100% of the profit funds media training for underprivileged women.
Buy now on Razorpay Prefer to donate? Go to our donate pageMerch is a purchase, not a donation, and is not eligible for 80G. To make a donation, use our donate page.