Explainer videos turn complicated ideas into short, simple stories. Businesses use them to show how a product works, NGOs use them to explain a cause, and teachers use them to make lessons stick. Making one is a useful skill for any content creator, marketer or video editor. This step-by-step guide explains how to make an explainer video, from the first idea to the final upload, even if you are working with a phone and a laptop.
What is an explainer video?
An explainer video is a short video, usually between one and three minutes, that answers a single question: what is this, why does it matter and what should I do next? The most common styles are:
- Animated explainers using 2D characters, icons and motion graphics.
- Whiteboard or hand-drawn explainers where drawings appear as the narrator speaks.
- Live-action explainers with a presenter speaking to camera or demonstrating something.
- Screen-recording explainers that walk viewers through an app or website.
- Kinetic typography videos that rely mainly on moving text.
Choose the style that suits your topic, your audience and your skills. A simple style done well is better than an ambitious style done badly.
Step 1: Define the goal and the audience
Before writing anything, answer three questions:
- Who is watching? A new customer, a donor, a student or a colleague?
- What is the one message? If viewers remember only one thing, what should it be?
- What action should they take? Visit a website, sign up, buy, donate or share?
Write the answers in one or two sentences. This becomes your brief and keeps the video focused.
Step 2: Write the script
The script is the backbone of an explainer video. A widely used structure is:
- The problem: show a situation your audience recognises.
- The solution: introduce the product, service or idea.
- How it works: explain it in three simple steps.
- The benefit: show what changes for the viewer.
- The call to action: tell viewers exactly what to do next.
Keep sentences short and conversational. As a rough guide, many narrators speak about 130 to 150 words per minute, so a 90-second video needs a script of around 200 to 225 words. Read it aloud and time it. Cut any line that does not support the main message.
Step 3: Create a storyboard
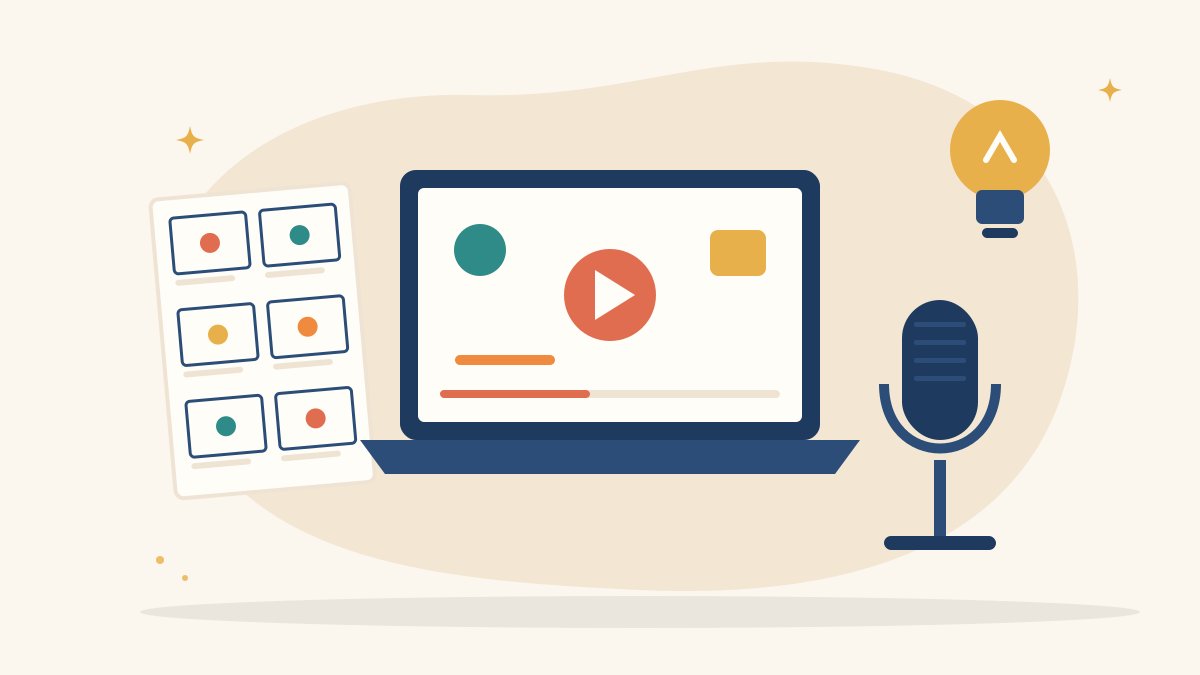
A storyboard is a sequence of simple sketches showing what appears on screen for each line of the script. You do not need to draw well; stick figures and boxes are fine. For each frame, note:
- The visual (what we see).
- The narration or on-screen text (what we hear or read).
- Any movement or transition.
Storyboarding helps you spot gaps, avoid repetition and plan how many assets you need before you start designing.
Step 4: Record the voice-over
Most explainers use narration. Record it before you animate or edit, because the visuals will be timed to the voice.
- Use a quiet room with soft furnishings to reduce echo.
- Keep the microphone close and at a steady distance. A phone with a lapel microphone can give good results.
- Speak slowly and warmly, as if explaining to a friend.
- Record several takes of difficult lines so you can choose the best.
If you add text-to-speech or AI voices, check the tool’s licence for commercial use and listen carefully for mispronounced words.
Step 5: Design the visuals
Create or collect everything you storyboarded: characters, icons, backgrounds, screenshots and text styles. Keep the look consistent by choosing:
- Two or three main colours that match the brand.
- One or two fonts that are easy to read on phones.
- A single illustration style throughout.
Tools such as Canva, Figma and Adobe Illustrator are useful for designing assets. Only use images, icons and music that you have the right to use, such as properly licensed stock or your own creations.
Step 6: Animate or edit
Bring the visuals and voice together in an editing or animation tool. Options range from beginner-friendly apps like Canva and CapCut to professional software such as Adobe After Effects, Premiere Pro and DaVinci Resolve. Tips:
- Time each visual to the narration so pictures appear exactly when they are mentioned.
- Use simple movements like slides, pops and fades rather than flashy effects.
- Keep text on screen long enough to read comfortably.
- Show one idea at a time so viewers are not overwhelmed.
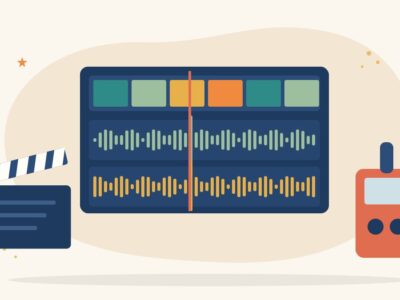
Step 7: Add music, sound effects and captions
Light background music sets the mood, and subtle sound effects make animations feel alive. Keep music quiet under the voice. Add captions, because many people watch videos on mute, especially on social media. Captions also make the video accessible to viewers who are deaf or hard of hearing.
Step 8: Review, export and share
Watch the video on a phone and on a laptop. Ask someone from your target audience to watch it and tell you what they understood. Fix anything confusing, then export in the right format for each platform: horizontal (16:9) for YouTube and websites, and vertical (9:16) or square versions for Instagram, Reels and WhatsApp Status. Add a clear title, description and thumbnail when you upload.
Common mistakes to avoid
- Trying to say everything instead of one clear message.
- A long introduction before the point.
- Too much text on screen.
- Poor audio, which viewers tolerate less than imperfect visuals.
- No call to action at the end.
Turning this skill into a career
Explainer video skills are useful for roles such as video editor, motion graphics artist, content creator, social media manager and e-learning designer. Building a small portfolio of explainers, for example for a local shop, a community group or an NGO, is a practical way to show employers and clients what you can do.
Learn video and AI skills with Karuna Media
Karuna Media, an initiative of Puppets Picture Education Trust (PPET), Noida, runs the 12-month Karuna Media Master Program for women from underprivileged backgrounds. Learners train in media, filmmaking, editing and AI tools and receive support for job placement.
- Want to build these skills? Read about the program and apply here.
- Want to help more women learn? Support our training through the donate page.
Your next step
Pick a simple topic you know well, such as how to pay a bill by UPI, and make a 60-second explainer this week using the eight steps above. Your first video will teach you more about how to make an explainer video than any amount of reading.
The Giving Movement by Karuna Media · #TheGivingMovement
Wear the cause: tees, a tote and a mug that fund media training for women
Tee (Black) ₹699 · Tee (White) ₹649 · Tote ₹449 · Mug ₹399. Printed on demand and shipped across India. 100% of the profit funds media training for underprivileged women.
Buy now on Razorpay Prefer to donate? Go to our donate pageMerch is a purchase, not a donation, and is not eligible for 80G. To make a donation, use our donate page.