You do not need studio lights to make a beautiful portrait. A window is one of the most flattering light sources a photographer can use, and most homes, offices and classrooms have one. With a few simple choices about position, angle and exposure, you can create soft, natural-looking portraits on a phone or a camera.
This guide explains why window light works, how to choose the right window, where to place your subject and camera, how to control shadows with simple reflectors, which settings to use and an illustrative setup you can practise at home.
Why window light works so well for portraits
Light can be hard or soft. As the photography site Cambridge in Colour explains in its portrait lighting tutorial, the softness of light depends mainly on the apparent size of the source compared with the subject: larger sources give gradual shadows, smaller ones give sharp-edged shadows. Portraits usually benefit from softer light.
A window acts like a large light source, especially when the sun is not shining directly through it. That gives smooth skin tones, gentle shadows and a natural sparkle in the eyes, called a catchlight.
Step 1: Choose the right window and time
- Indirect light is best. A window that receives daylight but not direct sun gives the softest result. In direct sun, shadows become harsh and the subject may squint.
- Overcast days are helpful, because clouds spread the light.
- If the sun is shining in, soften it. Hang a thin white curtain, a white bedsheet or tracing paper over the window, or move your subject out of the direct rays, an approach Cambridge in Colour also suggests.
- Check colour casts. Coloured curtains, walls or tinted glass can tint skin. Neutral surroundings give more natural colour.
- Watch the time. Light through the same window changes during the day. Try a test portrait in the morning and afternoon to see which you prefer.
A simple test from Nikon’s guide to shooting with light at home is to hold an object, such as an egg, near different windows and look for a soft shadow that falls off gradually. The same idea works for choosing a portrait spot.
Step 2: Position your subject
Distance and angle to the window shape the whole picture.
- Close to the window gives brighter, softer light with stronger fall-off into shadow on the far side.
- Further from the window gives dimmer, more even light, with less contrast.
- Subject facing the window (you stand with your back to it, slightly off to one side) gives bright, even, flattering light with few shadows.
- Subject at 45 degrees to the window gives gentle modelling: one side of the face is lit, the other falls into soft shadow. This is a classic portrait look.
- Subject side-on to the window (90 degrees) gives dramatic split light, with half the face in shadow.
Ask your subject to turn their head slowly towards and away from the window while you watch the face. Stop when you see a catchlight in both eyes and a shadow shape you like.
Step 3: Position yourself and compose
- Avoid standing between the window and your subject, or you will block the light.
- Keep the window out of the frame at first; a bright window behind the subject makes exposure harder.
- Choose a plain background, such as a wall, curtain or bookcase, and keep some distance between the subject and the background.
- Shoot at eye level for a natural look, and give the subject room in the direction they are looking. Our guide to photography composition rules explains framing and space in more detail.
Step 4: Control shadows with a reflector
If the shadow side of the face is too dark, bounce light back into it. You do not need a professional reflector:
- A sheet of white chart paper or thermocol.
- A white bedsheet held by a helper or draped over a chair.
- A light-coloured wall on the shadow side.
- Aluminium foil on card for a stronger, cooler bounce.
Place the reflector on the side opposite the window and move it closer for more fill and further away for less. To make the shadow side darker and more dramatic, use a dark cloth instead, which absorbs light.
Step 5: Set your exposure
On a phone
- Tap on the subject’s face to focus and set exposure.
- Lower the exposure slightly if bright skin looks washed out.
- Portrait mode can blur the background, but check edges around hair and glasses.
- Hold the phone steady or rest it on something, because indoor light is dimmer than it looks.
On a camera
- Start with a wide aperture, such as f/2.8 to f/4, to let in light and soften the background.
- Keep the shutter speed fast enough to avoid blur from hand shake and subject movement, for example 1/125 second or faster for a handheld portrait with a standard lens.
- Raise ISO only as much as you need.
- Focus on the nearest eye.
- Check the histogram so highlights on the face are not clipped. Our guides on how to shoot in manual mode and how to read a histogram explain these settings.
White balance
Daylight from a window is usually cooler than indoor bulbs. Switch off room lights to avoid mixed colour on the face, or set white balance manually.
Illustrative setup: a portrait in a small room
This setup is illustrative; adjust it to your space.
- Window: a north- or east-facing window in the afternoon, with no direct sun, or a sunny window covered with a thin white curtain.
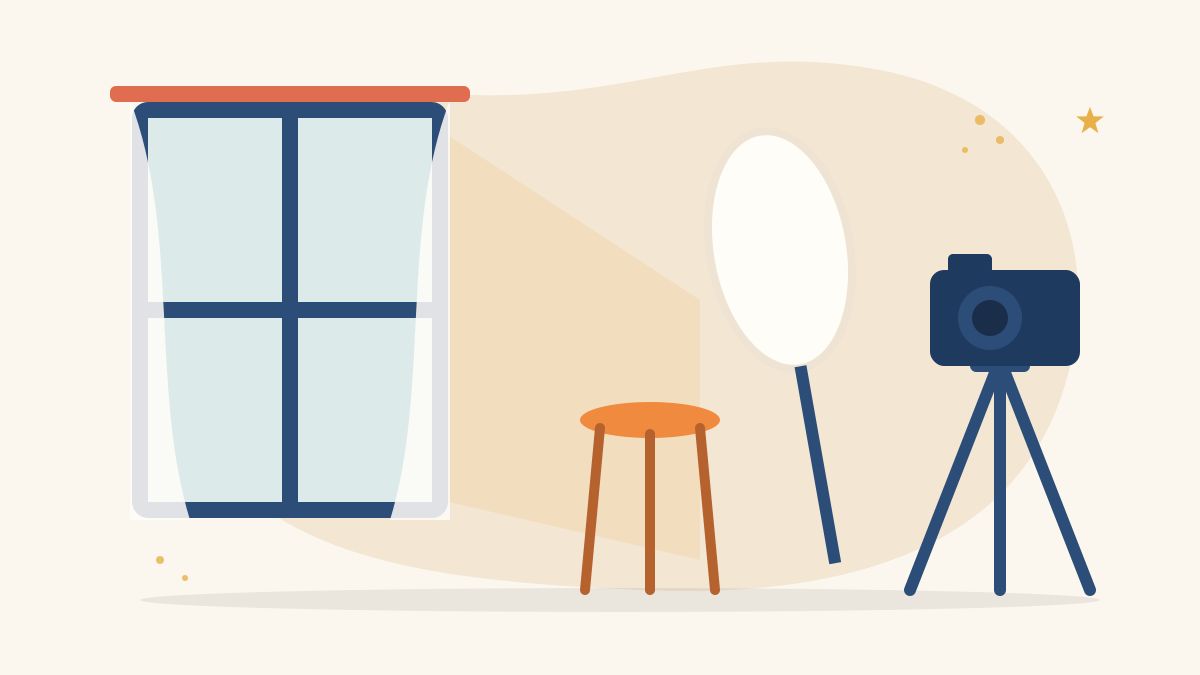
- Subject: seated on a stool about one metre from the window, body turned 45 degrees to it, face turned slightly back towards the light.
- Reflector: white chart paper held about a metre away on the shadow side, angled to bounce light onto the cheek.
- Background: a plain wall roughly two metres behind the subject.
- Camera: standing beside the window, slightly off-axis, at the subject’s eye level.
- Settings (camera): f/2.8, 1/160 second, ISO adjusted for correct exposure, white balance set to daylight.
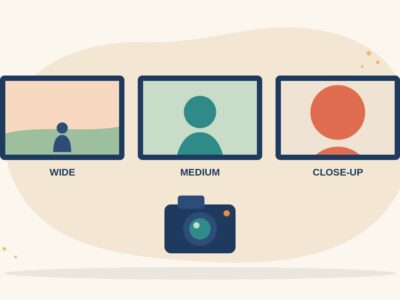
- Shots: a head-and-shoulders portrait, a tighter close-up and a version with the subject facing the window for comparison.
Compare the results and note how each change in angle or reflector distance changed the face.
Common mistakes to avoid
- Shooting in harsh, direct sunlight through the glass.
- Mixing window light with yellow room lights.
- Placing the subject with their back to the window without adjusting exposure, so the face becomes a silhouette.
- Forgetting to check for catchlights in the eyes.
- Using a cluttered background that competes with the face.
Window light portrait checklist
- Is the light soft and indirect, or softened with a curtain?
- Is the subject at the right distance and angle?
- Do both eyes show a catchlight?
- Is the shadow side filled or deepened as I want?
- Are room lights off and white balance correct?
- Is the background plain and far enough away?
Keep practising light
Window light teaches you to see direction, softness and shadow, skills that carry over to video and studio work. When you are ready for artificial lights, read our guide to video lighting for beginners. If you would like structured training in photography, video and digital media, explore our programmes and apply here. If you would like to support women building creative careers, you can also donate to Karuna Media.
The Giving Movement by Karuna Media · #TheGivingMovement
Wear the cause: tees, a tote and a mug that fund media training for women
Tee (Black) ₹699 · Tee (White) ₹649 · Tote ₹449 · Mug ₹399. Printed on demand and shipped across India. 100% of the profit funds media training for underprivileged women.
Buy now on Razorpay Prefer to donate? Go to our donate pageMerch is a purchase, not a donation, and is not eligible for 80G. To make a donation, use our donate page.