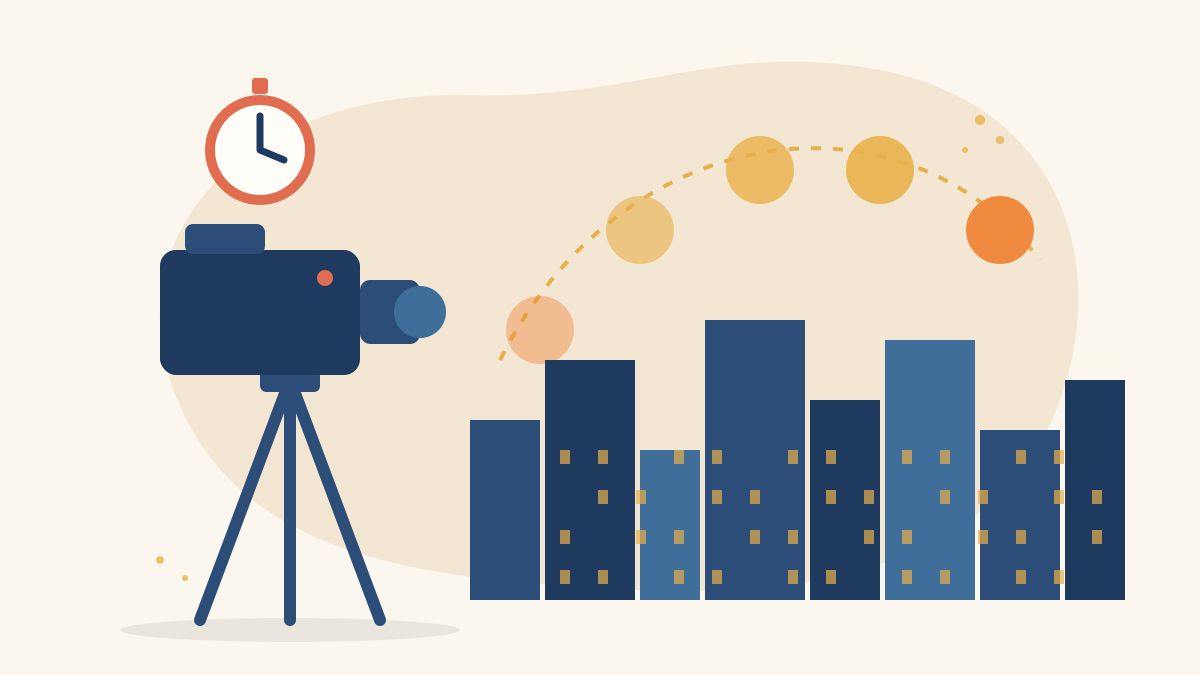
Clouds racing over a city, a market filling up from dawn to noon, a painting appearing on a wall in seconds: time-lapse shows change that is too slow to notice in real time. It is one of the most useful shots for openings, transitions and B-roll, and it needs little more than a steady camera and patience.
This guide explains how time-lapse works, the simple maths behind intervals, the settings to use on a camera or phone, how to assemble the clip and an illustrative shot plan.
How time-lapse works
Normal video records many frames every second. A time-lapse records one frame at a set interval, for example every two seconds, and then plays those frames back at a normal frame rate such as 25 frames per second (fps). Because far fewer frames are captured, time appears to move much faster.
It is the opposite of slow motion. If you want to understand frame rates from the other direction, our guide on how to shoot slow motion video explains the same idea in reverse.
The interval maths
Three numbers decide every time-lapse: the interval, the shooting time and the clip length.
- Frames needed = clip length in seconds x playback frame rate.
- Shooting time = frames needed x interval.
For example, a 10-second clip at 25 fps needs 250 frames. With a 2-second interval, that takes 500 seconds, a little over 8 minutes. With a 5-second interval, it takes about 21 minutes.
Choosing an interval
Use these as starting points and adjust after a test:
- 1 second: fast movement such as traffic, crowds or busy streets.
- 2 to 5 seconds: moving clouds, people setting up an event, cooking.
- 10 to 30 seconds: slow change such as sunsets, shadows moving or a building site.
Shorter intervals give smoother motion but need more frames and storage. Longer intervals compress more time but can look jumpy if the subject moves quickly.
Equipment you need
- A tripod or stable surface. Any movement between frames shows up as shake.
- Enough power. Long sequences can drain a battery, so start fully charged or use external power where safe.
- Enough storage. Clear space on the card or phone before you begin.
- An intervalometer, built into many cameras, or available as a remote or app.
- Optional: an ND filter for daylight shots that need a slower shutter.
Camera settings for time-lapse
Go manual
Automatic exposure, focus and white balance can change from frame to frame and cause flicker. Lock them. If manual settings are new to you, read our guide on how to shoot in manual mode.
- Focus: focus once, then switch to manual focus.
- White balance: choose a fixed setting such as daylight instead of auto.
- Exposure: set aperture, shutter speed and ISO manually.
Shutter speed and motion blur
A slightly slower shutter adds motion blur to each frame, which makes moving people and cars look smoother when played back. A very fast shutter can make movement look choppy. In bright daylight, an ND filter lets you use a slower shutter without overexposing.
Photos or video mode
Many cameras can shoot time-lapse as a sequence of still photos or as a ready-made video file. Photos give more control and higher resolution but need assembling later. In-camera video is quicker. For beginners, in-camera time-lapse is a good way to learn.
Shooting time-lapse on a phone
Most phones have a time-lapse mode. Apple’s guide to recording video with the iPhone camera explains that Time-lapse mode captures footage at selected intervals, and advises placing the phone on a stable surface or tripod before recording. Android phones vary by brand, so look for Time-lapse or Hyperlapse in the camera modes.
Phone time-lapse modes usually choose the interval for you. For more control, some camera apps let you set the interval manually. Either way:
- Switch on airplane mode or do not disturb so calls do not interrupt the recording.
- Lock focus and exposure by pressing and holding on the subject, if your phone supports it.
- Clean the lens and keep the phone out of direct heat for long sequences.
Day-to-night time-lapses
Sunsets are popular but tricky, because the light changes by a large amount. If exposure is locked, the end of the clip will be too dark. If exposure is automatic, it may flicker. Beginners often get the best results by shooting a shorter section, such as the half hour before sunset, with settings chosen for the middle of that window, then making small adjustments in the edit.
Assembling and editing
If you shot still photos, import them into your editing software as an image sequence and set the frame rate to match your project. Many editors, including DaVinci Resolve and Premiere Pro, can do this. Then:
- Crop or reframe slightly if the photos are larger than your video frame.
- Use a deflicker tool if your software has one.
- Add music or ambient sound, since time-lapse has no usable sync sound.
- Keep most time-lapse shots short, often a few seconds each.
Time-lapse clips also make excellent cutaways. Our guide on how to shoot B-roll explains how to plan these shots around a story.
Illustrative shot plan: a community event
This example is illustrative. A small team wants a 6-second opening shot showing a hall being set up for an event, for a 25 fps edit.
- Frames needed: 6 x 25 = 150 frames.
- Set-up time: about 75 minutes, so 4,500 seconds.
- Interval: 4,500 / 150 = 30 seconds. The team rounds this to a 20-second interval for smoother motion and plans to trim the clip.
- Position: camera on a tripod in a high corner, wide lens, away from walkways.
- Settings: manual focus, daylight white balance, manual exposure set for the hall lights; a test of 10 frames before starting.
- Power and storage: full battery plus a spare; card cleared beforehand.
- Edit: imported as an image sequence at 25 fps, deflickered and placed at the start with music.
Common mistakes to avoid
- Leaving auto settings on, which causes flicker.
- Using a wobbly stand, so the frame jumps.
- Starting too late, so the change you wanted is missed.
- Forgetting to check battery and card space.
Learn camera and editing skills with Karuna Media
Karuna Media, an initiative of Puppets Picture Education Trust (PPET) in Noida, trains women from underprivileged backgrounds in media, filmmaking and AI skills through the Karuna Media Master Program, so they can build portfolios for creative careers.
- Want to learn? Read about the program and apply here.
- Want to help more women tell their stories? Support our work through the donate page.
Your next step
Put your phone or camera on a stable surface facing a window with a view of the sky or a street. Record a time-lapse for 15 minutes, then a second one with a different interval if your device allows it. Compare the two and note which interval suits the movement best.
The Giving Movement by Karuna Media · #TheGivingMovement
Wear the cause: tees, a tote and a mug that fund media training for women
Tee (Black) ₹699 · Tee (White) ₹649 · Tote ₹449 · Mug ₹399. Printed on demand and shipped across India. 100% of the profit funds media training for underprivileged women.
Buy now on Razorpay Prefer to donate? Go to our donate pageMerch is a purchase, not a donation, and is not eligible for 80G. To make a donation, use our donate page.